In this How To, you will learn: How to add/delete/rename master slides, change backgrounds, replace images and graphics, add buttons that hyperlink to different pages, and add text boxes that can be edited outside of the master.
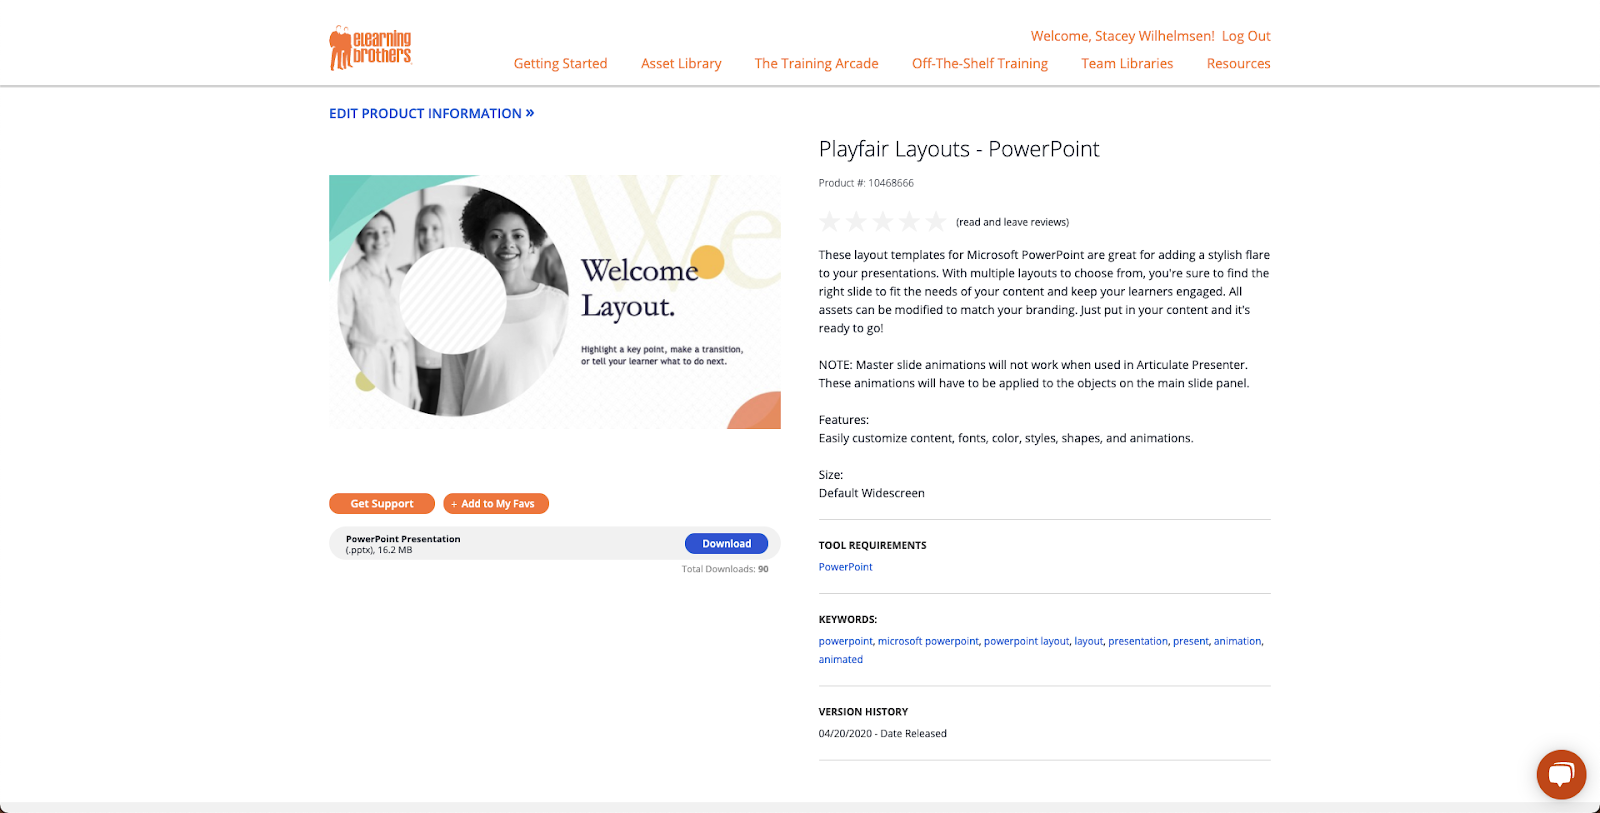
- Pick a style from the PowerPoint Library
- Download files you wish to use
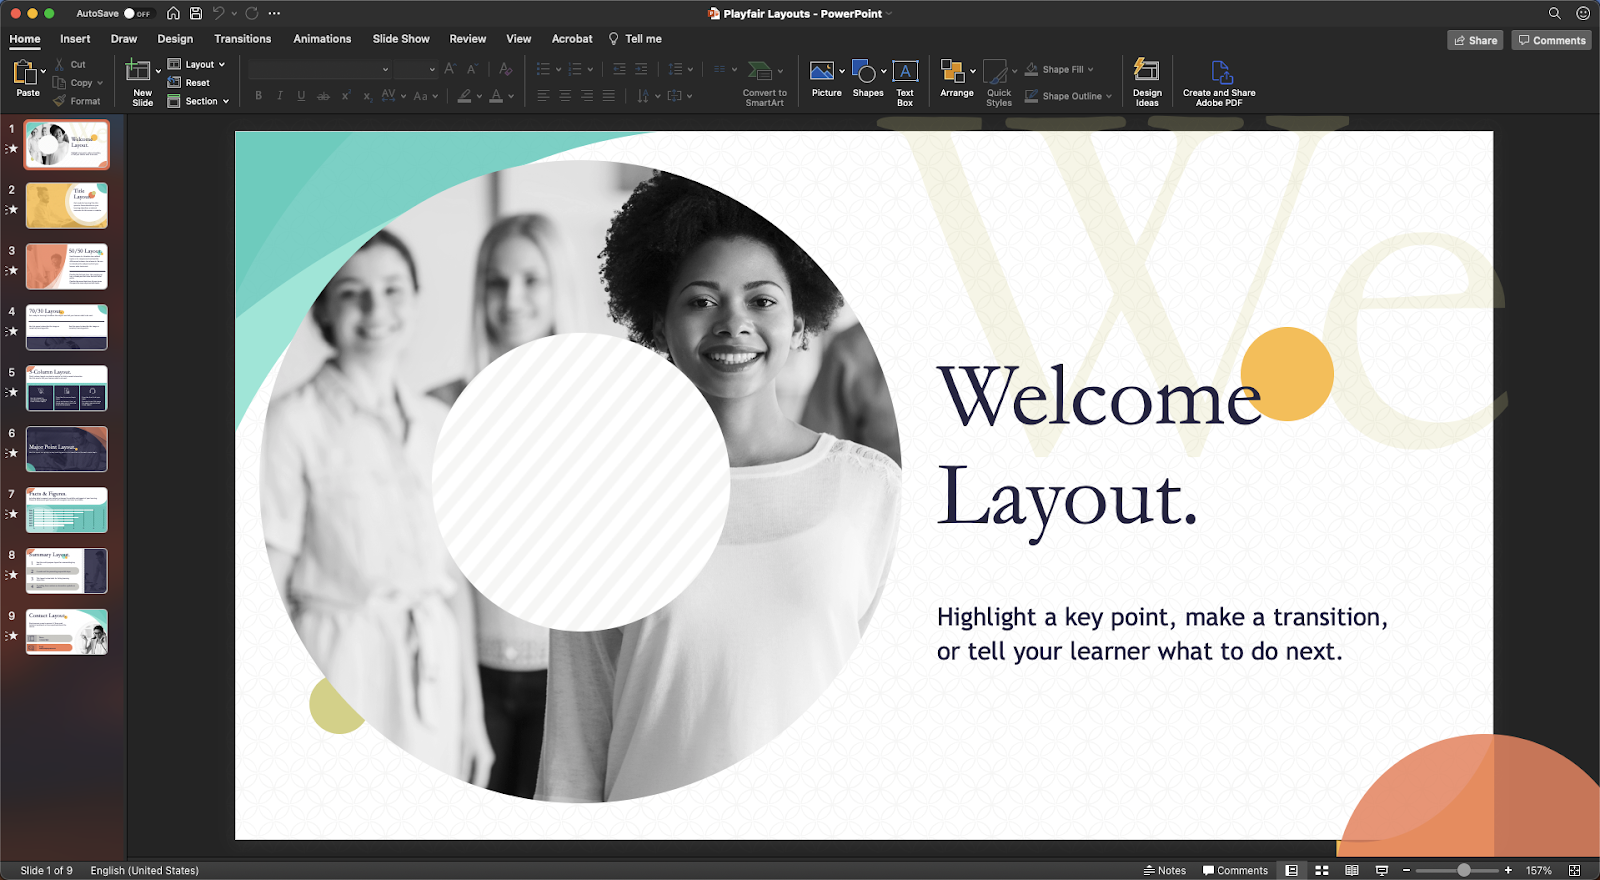
- Open the file in PowerPoint
If you are adding these slides to another file, follow these steps here » - To make changes to the Slide Masters:
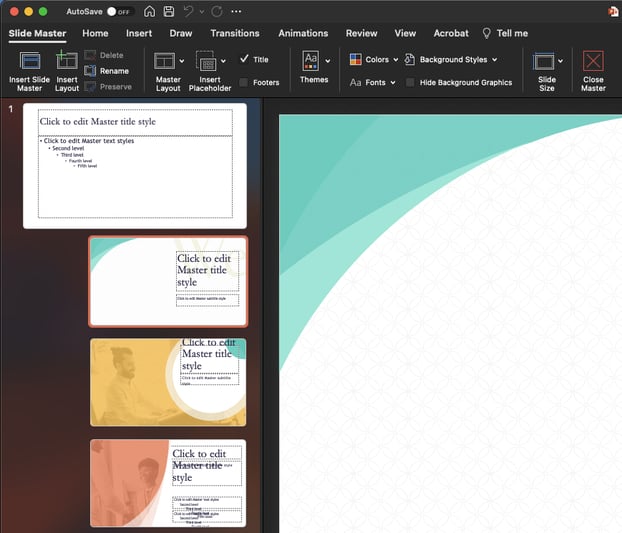
- Navigate to the View tab and click on “Slide Master”

OR hold Shift and click on the Normal slide view icon (for PC) or Option + ⌘ + 1 (for Mac) - In this view, you’ll see the master slide at the top, with the layout slides beneath it.
- To make the same change or changes to all layout slides, edit your master slide. For example, you can change the background, fonts, font sizes, place holders, and even add your logo. These changes will be reflected on all the layout slides.
You can also make changes to the theme colors, theme fonts, create your own theme color pallet, and much more! For more information on that process follow these steps here »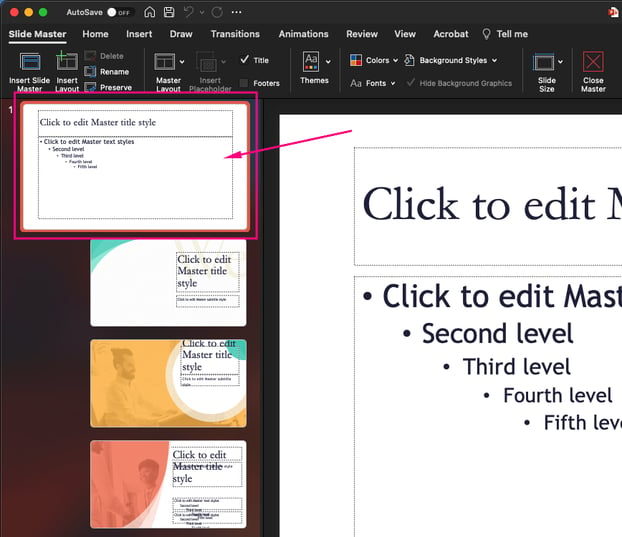
- To make changes to individual layout slides, click on the slide you’d like to make changes to then select the item you’d like to change. For example:
- Changing background images:
Select the image you would like to change and right click. In that dropdown menu, go to Change Picture, then choose either “From a File”, “From Stock Images”, “From Online Sources”, “From Icons”, or “From Clipboard”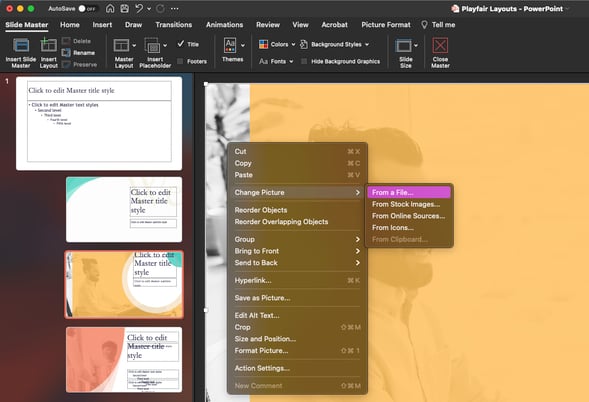
LAYERING NOTE: items might be layered or have colored overlays so you may need to shift (move/drag) items to the side to reach others.
NOTE: if the image you are using to replace the existing one is a different proportion you may need to adjust its size or crop/re-crop it. - Add, move, or delete placeholder boxes:
To add a placeholder, navigate to the Slide Master Ribbon and click on Insert Placeholder. Now click and drag to create the size/shape of the placeholder text box anywhere on the slide. From there you can format that text box (changing the font style, size, and color).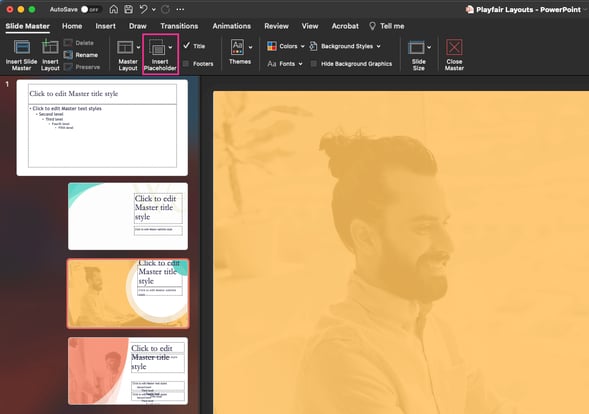
If you want to insert a placeholder that isn’t just for text, navigate to the Slide Master Ribbon and click on the little downward pointing arrow just to the right of the Insert Placeholder button. This will give you a bunch of different placeholder options. From there, click and drag to create the size/shape of the placeholder text box anywhere on the slide.
NOTE: You may not want to type your copy into the box at this point (unless you don’t want that copy to be editable from the film strip view). Anything that is typed or placed into the placeholders will only be editable in the Master Slide view. - Edit shapes or overlays, change the background color, or move/add/delete buttons:
To edit any shape simply click on that shape to select it then navigate to the Shape Format Ribbon. From here you can change the shape’s fill color, stroke color and style, add effects, change the shapes size or proportions, rotate objects, align objects, rearrange the order in which the items appear on the slide, and much more!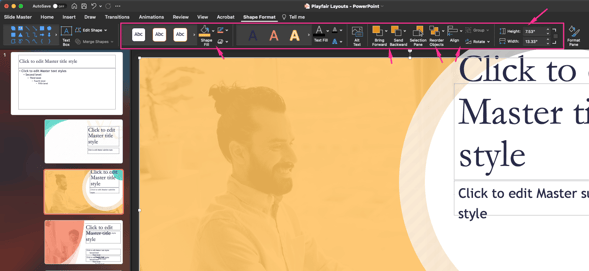
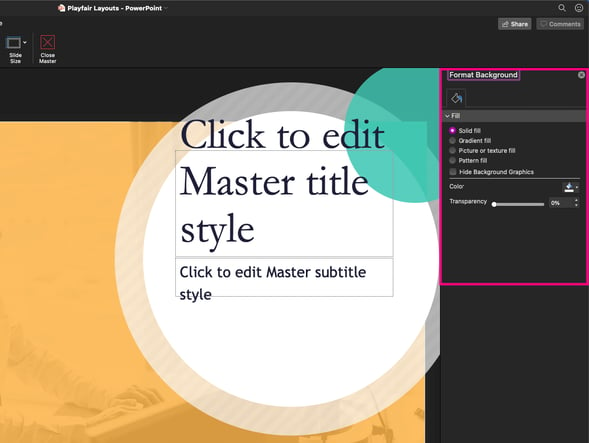
To edit the background color of the slide, navigate to the Master Slide Ribbon and click on Background Styles. From this dropdown you can choose one of the predetermined background colors or you can click on Format Background. If you click on Format Background this panel along the right side will appear. In this panel you can choose the type of fill you’d like (Solid color, Gradient, Picture or Texture, or Pattern) and whether or not you’d like to make your background transparent.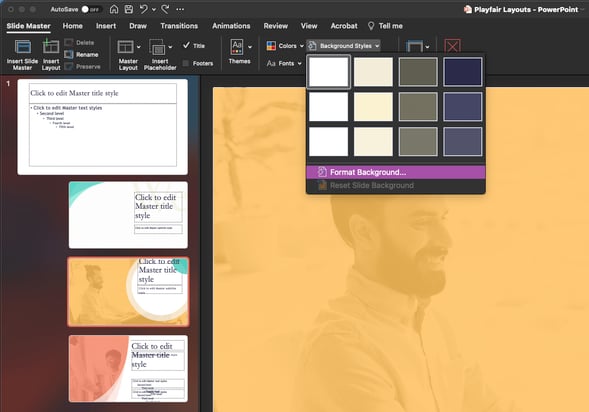
To add a button, simply draw any shape on the slide and add your text to it. Then right click on that button and select Hyperlink. From there you can choose where that button is going to go (to a web page or file, another slide within this document, or an email address).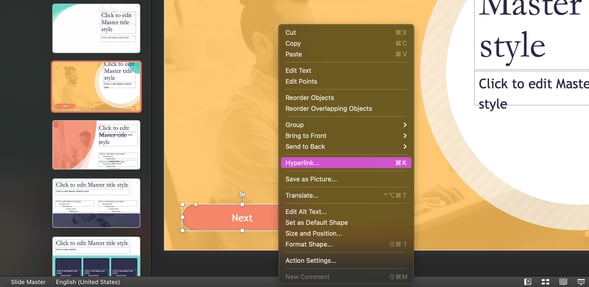
To move a button, simply click and drag that button to a different location on the slide. If you want to move it to a different slide, make sure the button is selected and cut it (Control + X for PC OR ⌘ + X for Mac) navigate to the slide you want to move it to and past it (Control + V for PC OR ⌘ + V for Mac).
- Changing background images:
- To delete a button, simply select the button you’d like to delete and press the Delete button on your keyboard.
- For more information about editing hyperlinks check out this article »
NOTE: Buttons can be placed on slides in the normal slide view or in the slide master. If you are in the normal slide view and are not able to select or edit a button on that slide, try going into the master slide and edit it from there.
- Navigate to the View tab and click on “Slide Master”
- Inserting, Deleting, Duplicating & Renaming Layouts
To insert a new Layout Slide; simply click on the Insert Layout button on the Slide Master Ribbon.
NOTE: If you have the Master Slide selected when you do this it will add the new Layout Slide to the end of your layout slides list; if you have a Layout Slide selected it will add the new Layout Slide right after the layout slide you have highlighted.
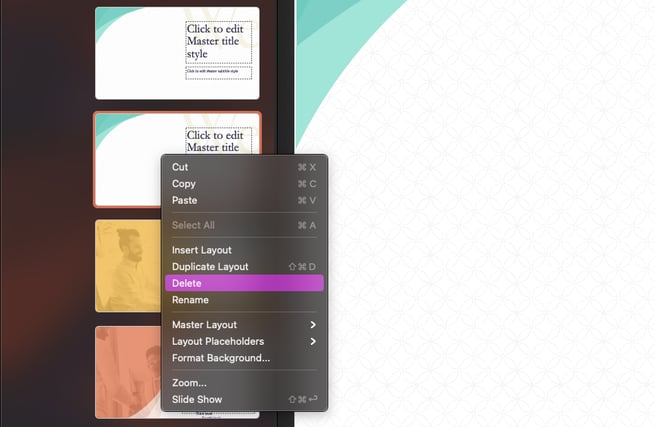
To delete a Layout Slide; simply select the layout slide or slides you wish to delete, then click the Delete button on the Slide Master Ribbon. OR right click and select Delete.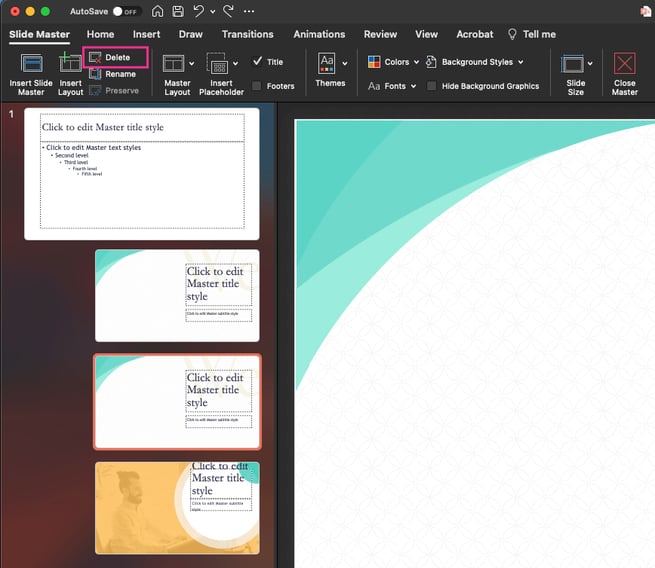
NOTE: If a slide in your deck has that Slide Layout applied to it you will not be able to delete it. You will first need to apply a different layout to that slide (in the filmstrip view) before you can then delete that Slide Layout.
To duplicate a Layout Slide; simply select/highlight the slide you wish to duplicate, and right click, then select Duplicate.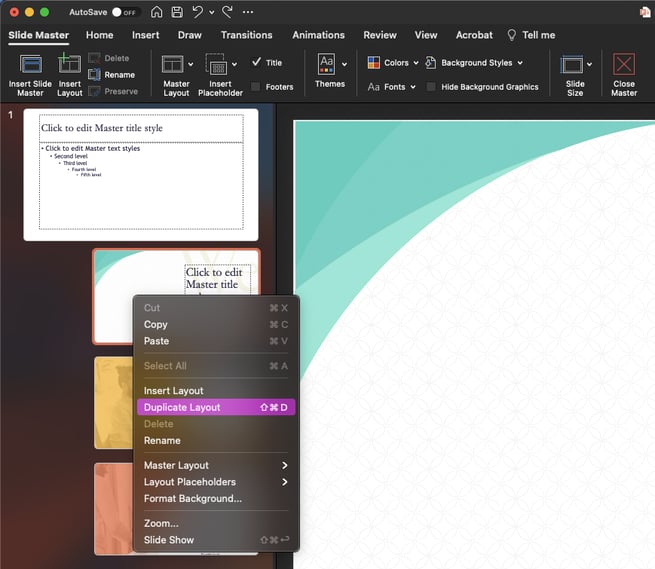
OR Control D (for PC) or Shift + ⌘ + D (for Mac)
To rename a Layout Slide; simply select/highlight the slide you wish to rename and click on the Rename button on the Slide Master Ribbon OR right click on that layout side and then select Rename.
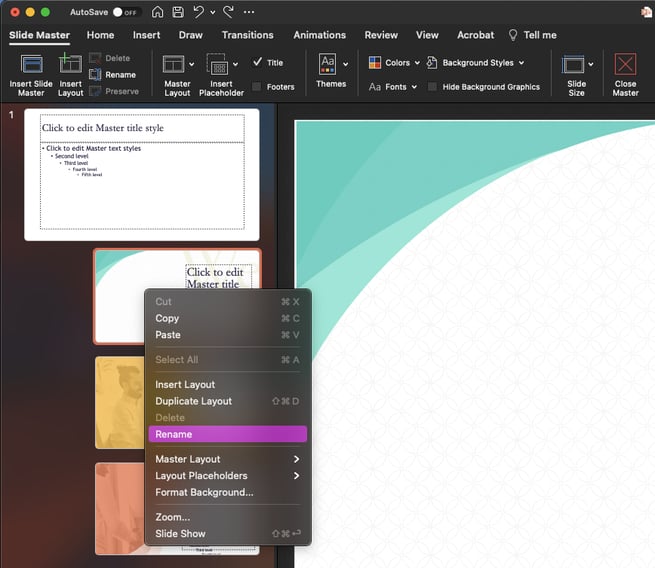
For example, you could rename your layout “Course Intro” instead of a generic term like “Layout 1”.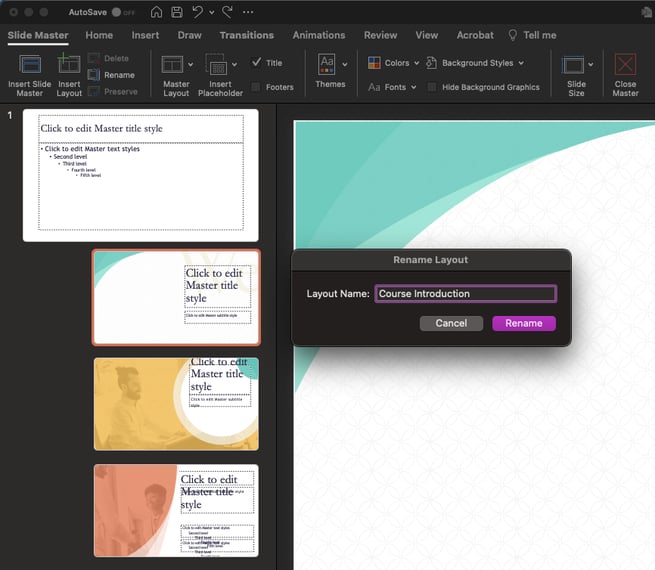
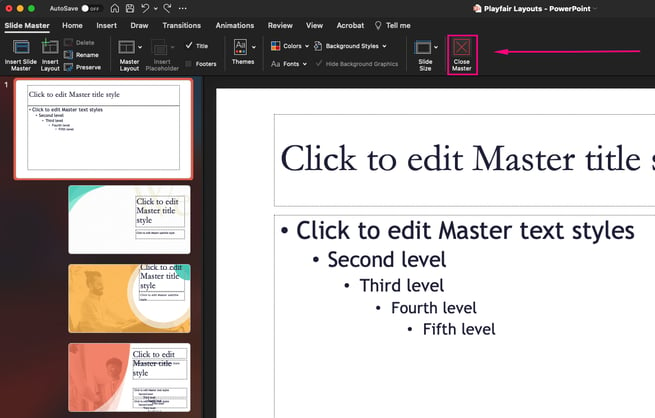
Pro Tip: Try and maintain a layout naming convention across your masters. As layouts are shared across masters (or used with newer and older masters), if PowerPoint cannot match the layout name, a specific layout in one master will be replaced with a generic layout in another. - Once you have made all the changes you’d like; close the master slides by clicking on this “Close Master / X” button.
- Now you can go through your slides and add your content to them.
You can also add text boxes, images, or graphics from the filmstrip view as well. Navigate to the Home ribbon, select “Text Box”, then click and drag to create a text box.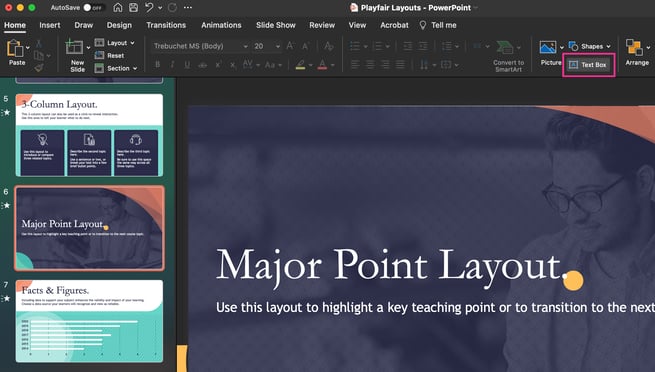
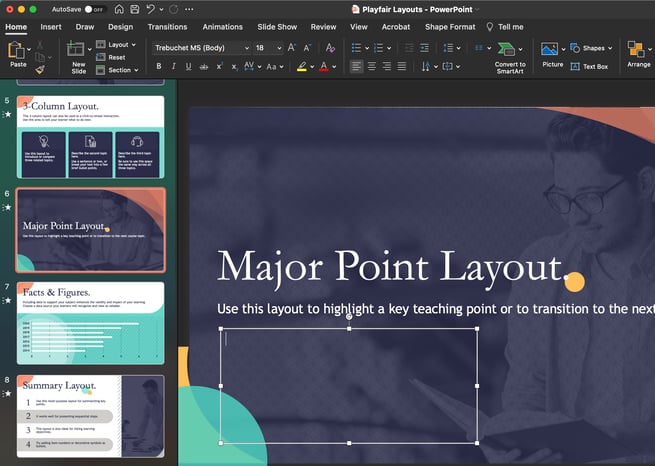
Make sure you update the copy in the placeholder text boxes from the regular slide view/filmstrip view. - IMPORTANT NOTE: if it doesn’t look like the changes you have made the master slides have automatically updated/applied to your slides in the filmstrip view; you will need to re-apply those layout slides to your slides.
Select the slide that needs to be updated and then navigate to the Home Ribbon and click the Layout dropdown and select the same layout for that slide.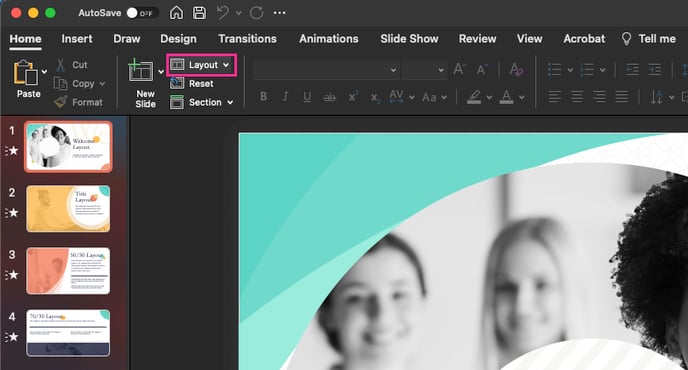
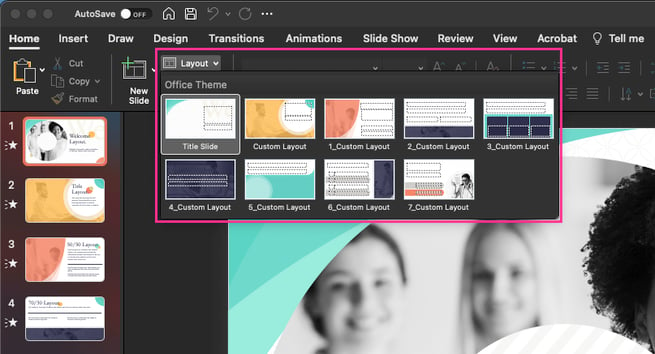
If this still does not work, select a different layout first then select the one you wanted originally. - Don’t forget to save!

Repeat the steps above until your presentation is complete.
Pro Tip: Go back through your course/presentation in “presentation mode” to check that all your slides are in order, animations are working, and any added links/hyperlinks are working correctly.