Note from the Product Manager
At Rehearsal, our commitment is to iteratively enhance your experience by introducing new features that align with evolving technologies. As a result, the guide you are about to read may differ in appearance or functionality from the current version of Rehearsal. We appreciate your patience as we work diligently to update our product documentation.
If you are running into specific issues, feel free to reach out to support@elblearning.com
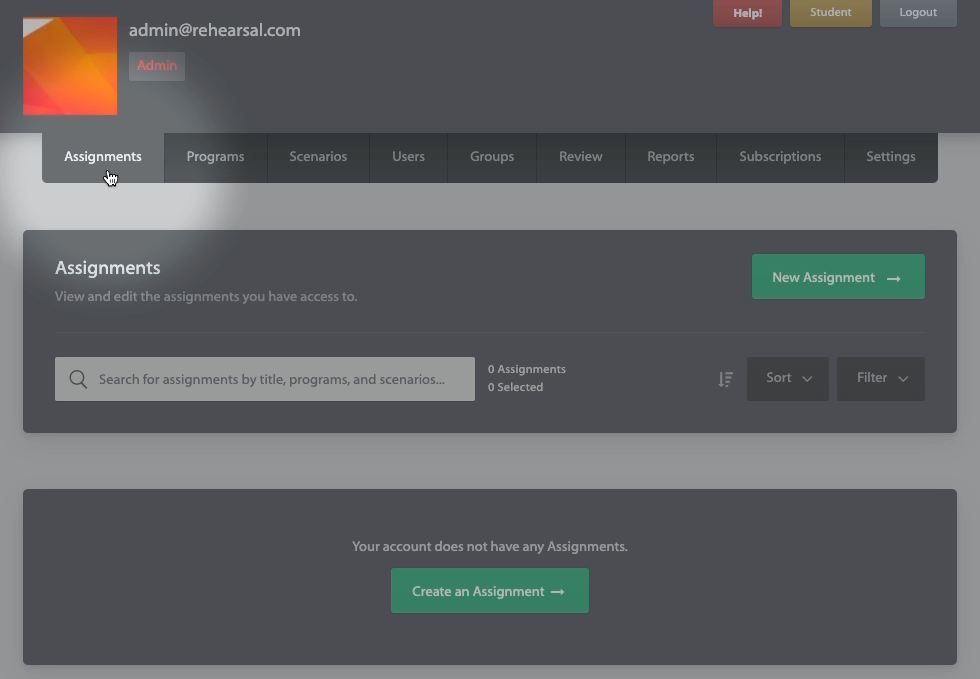
To begin, navigate to the Assignments tab on the Admin or Mentor side of the platform, depending on which you have access to.
Note: Your access may also look more limited that what appears in the examples below.
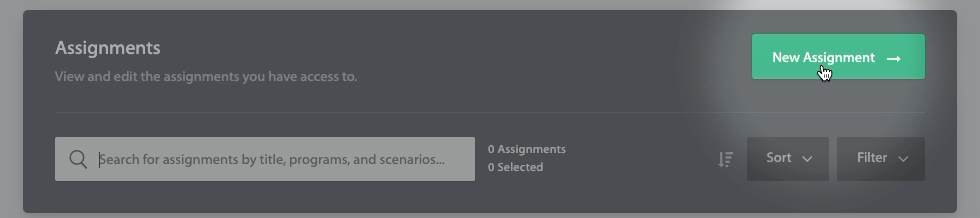
Click New Assignment.
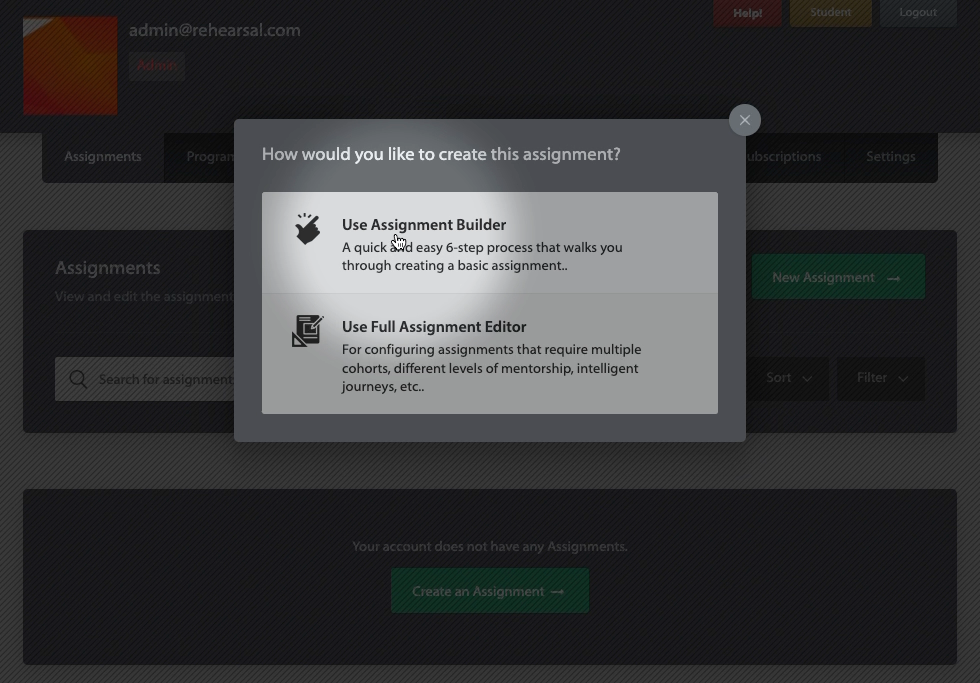
Select Use Assignment Builder
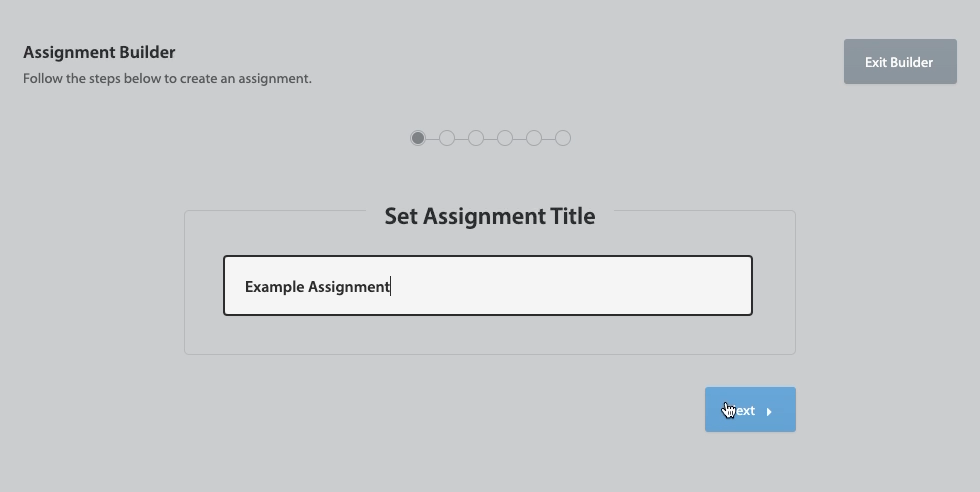
Set a title for the assignment, then click next
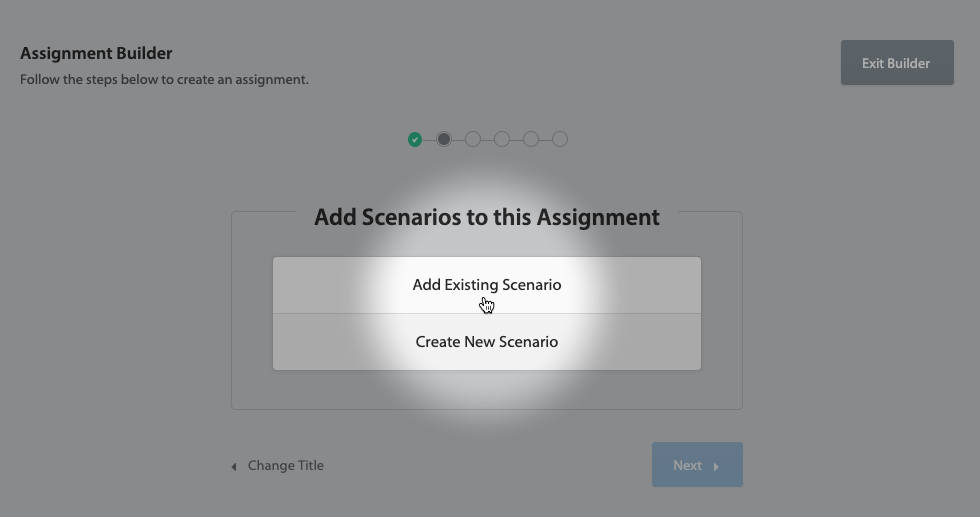
Depending on what you need to do, you will be presented with two options. Scenarios that have already been recorded will be available to use under the Add Existing Scenario option. Alternatively, if you need to record new video, you can select Create New Scenario to be directed to record.
To add existing scenarios, click Add Existing Scenario
A list of available scenarios will appear for you to choose from, select the ones you would like to add to the assignment.
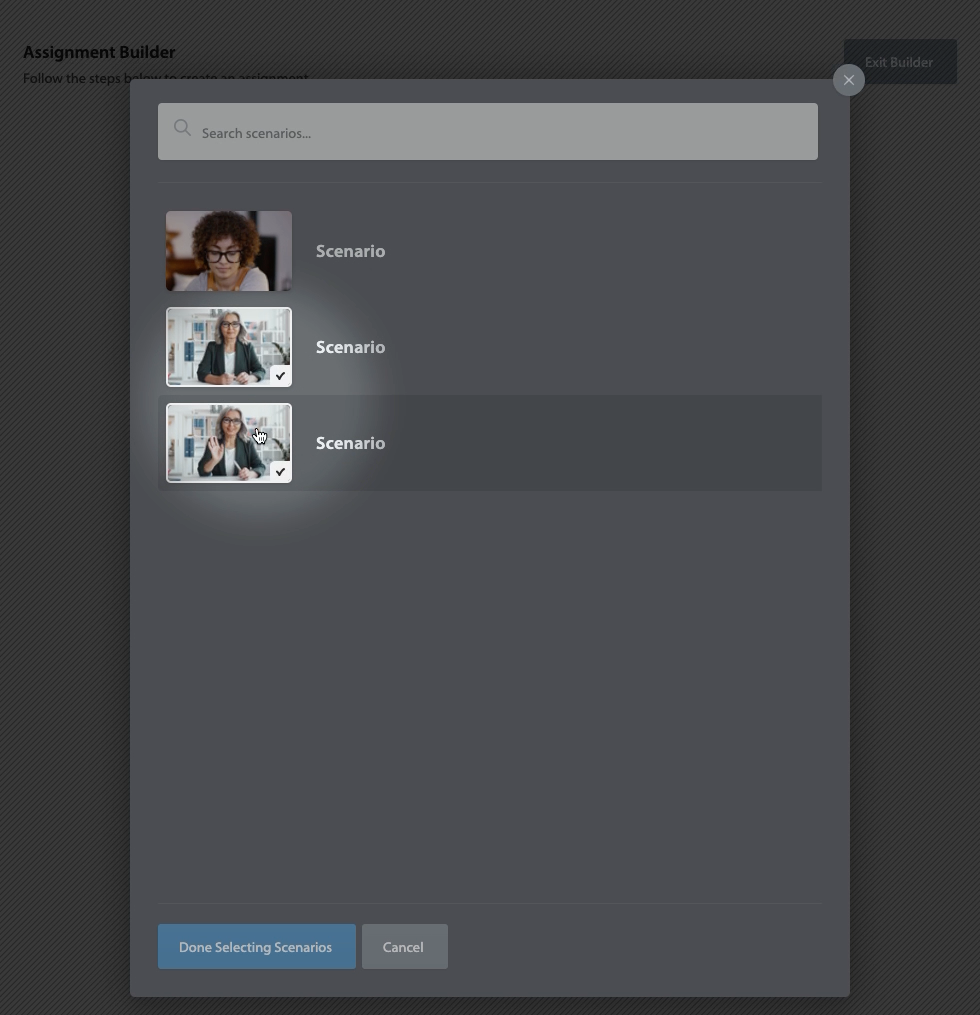
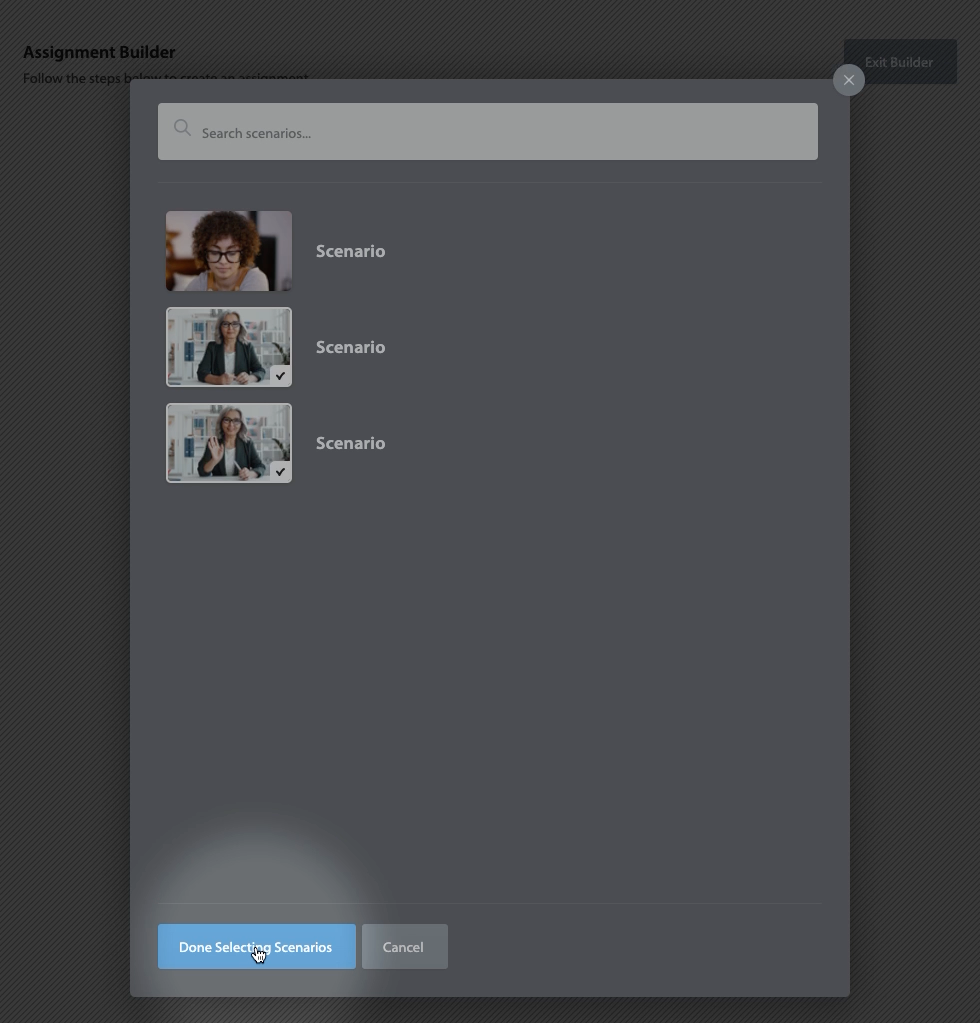
Click Done Selecting Scenarios once finished.
Note: This list can be a mixture of both your own recordings as well as scenarios other managers have made public for general assignment use.
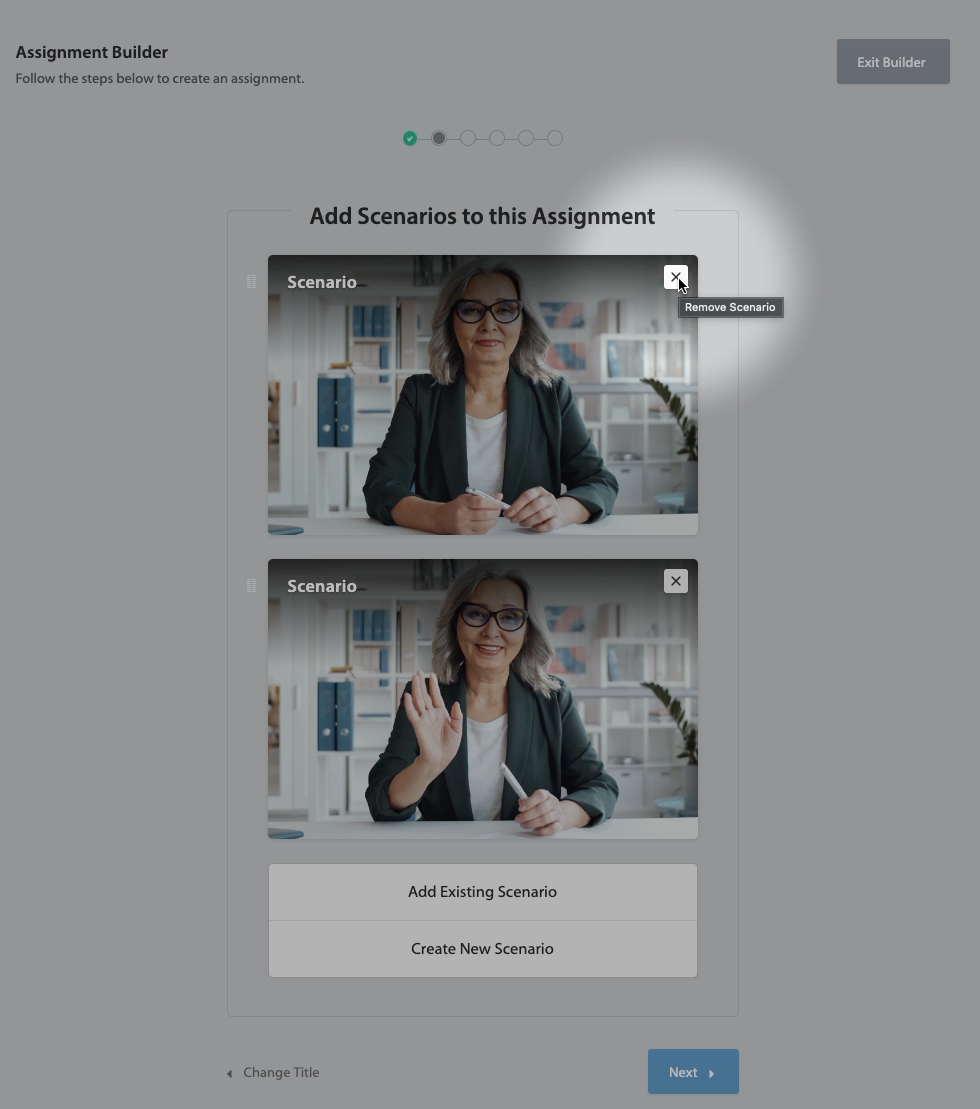
Once the scenarios have been selected, they can then be rearranged, use the small white icon to the left of each scenario to click and drag them into the preferred order.

Scenarios can also be removed at this stage by clicking the small x icon in the top right corner of each scenario.
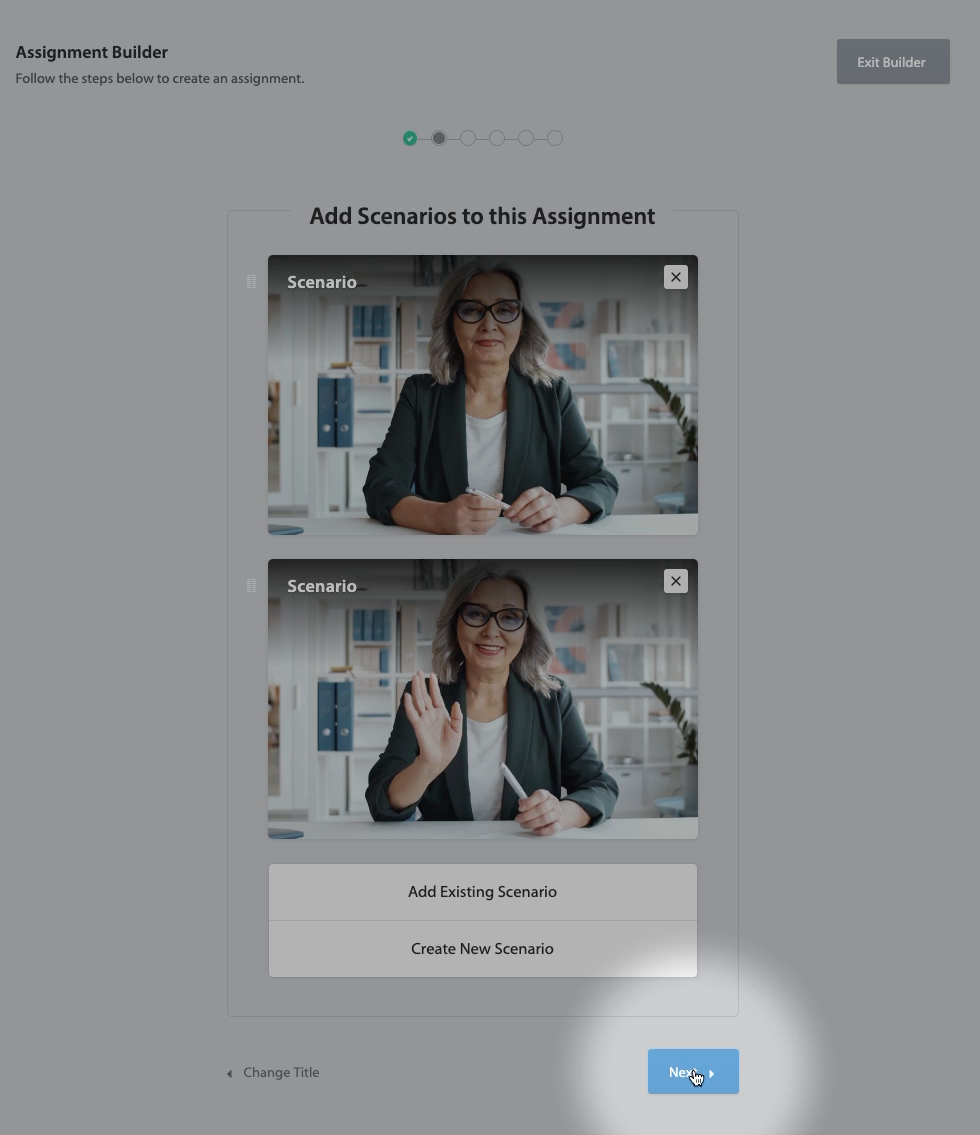
Once satisfied, click Next
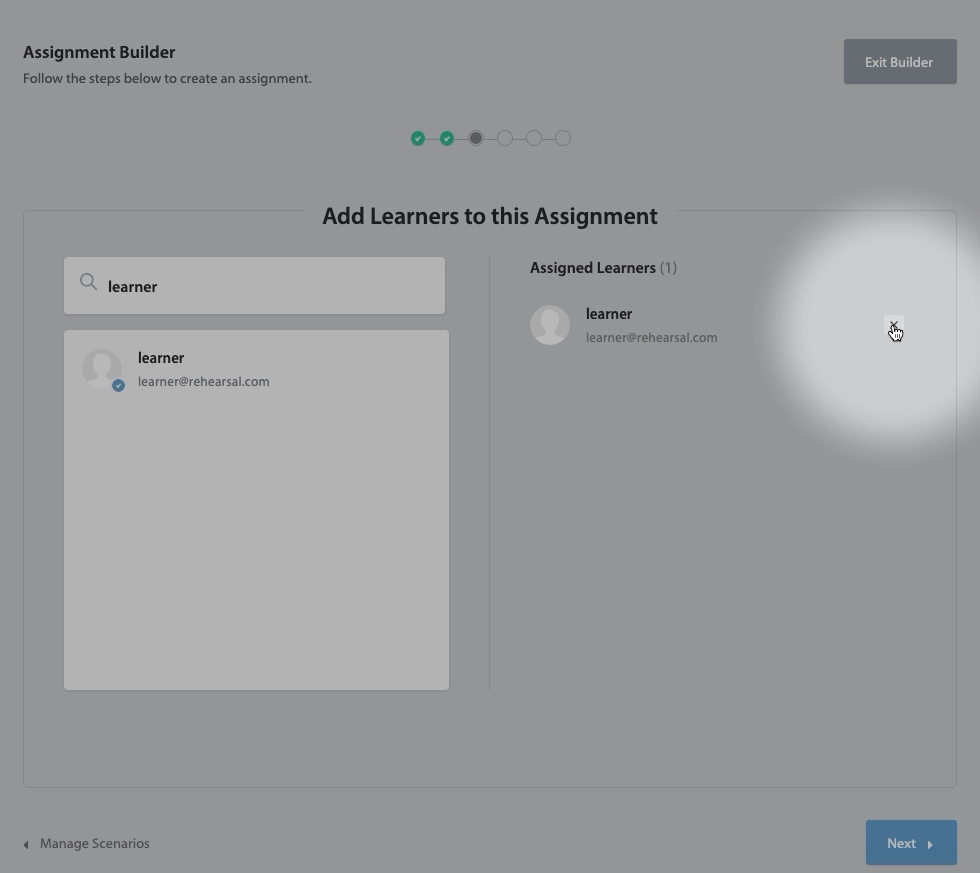
This section is where learners will be assigned to mentors for this assignment. Each assignment will need to have learners and mentors set who will be participating.
First, select the learners.
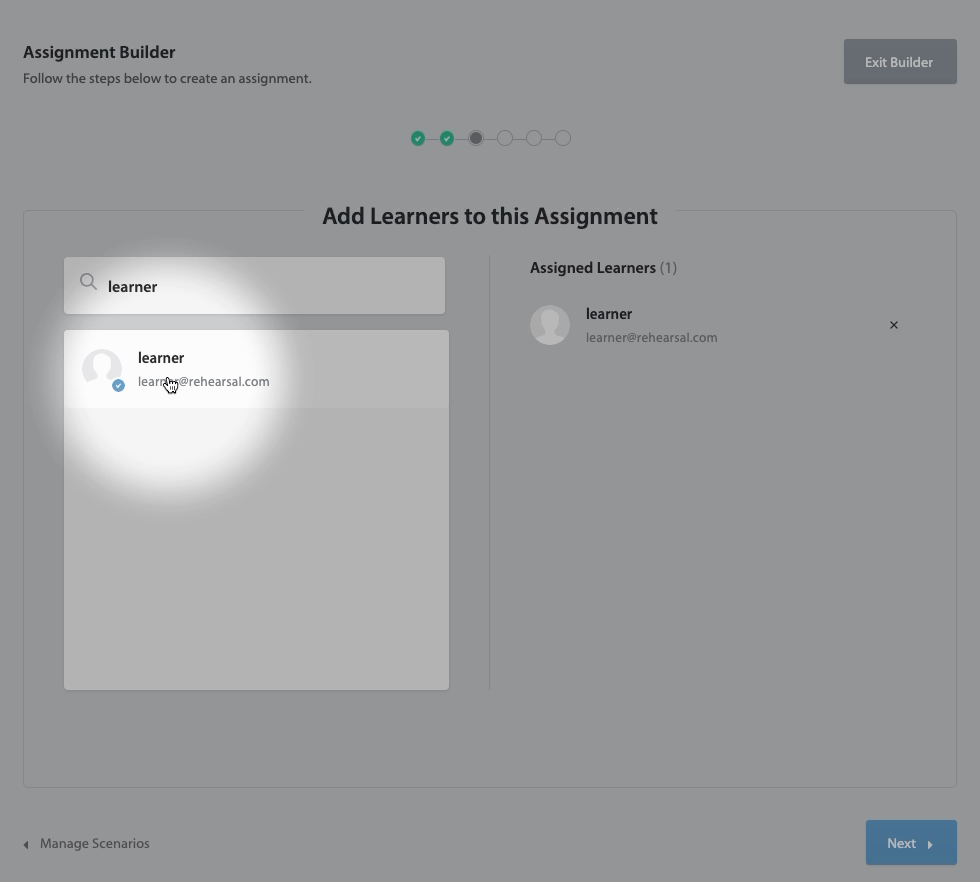
A list of the learners will appear to the right as you select them on the left.
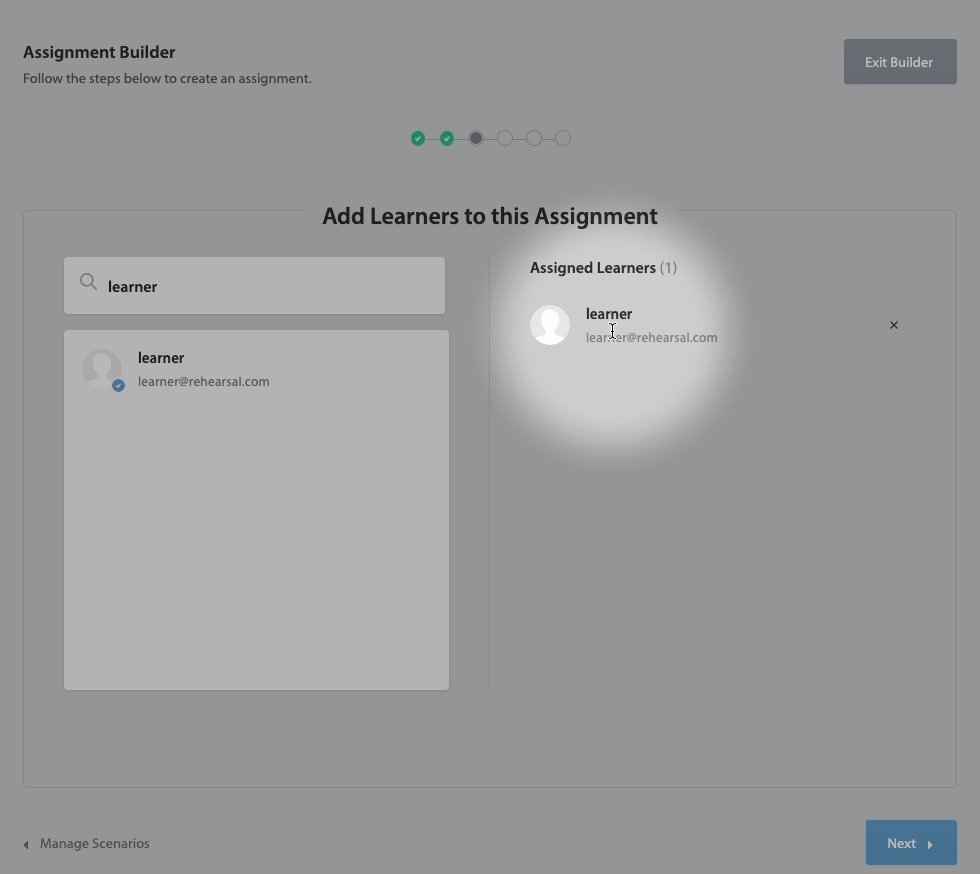
Learners can also be removed by selecting the x to the right of the name of the assigned learner.
Then, same as before, select the mentors who will be grading the learner's assignments
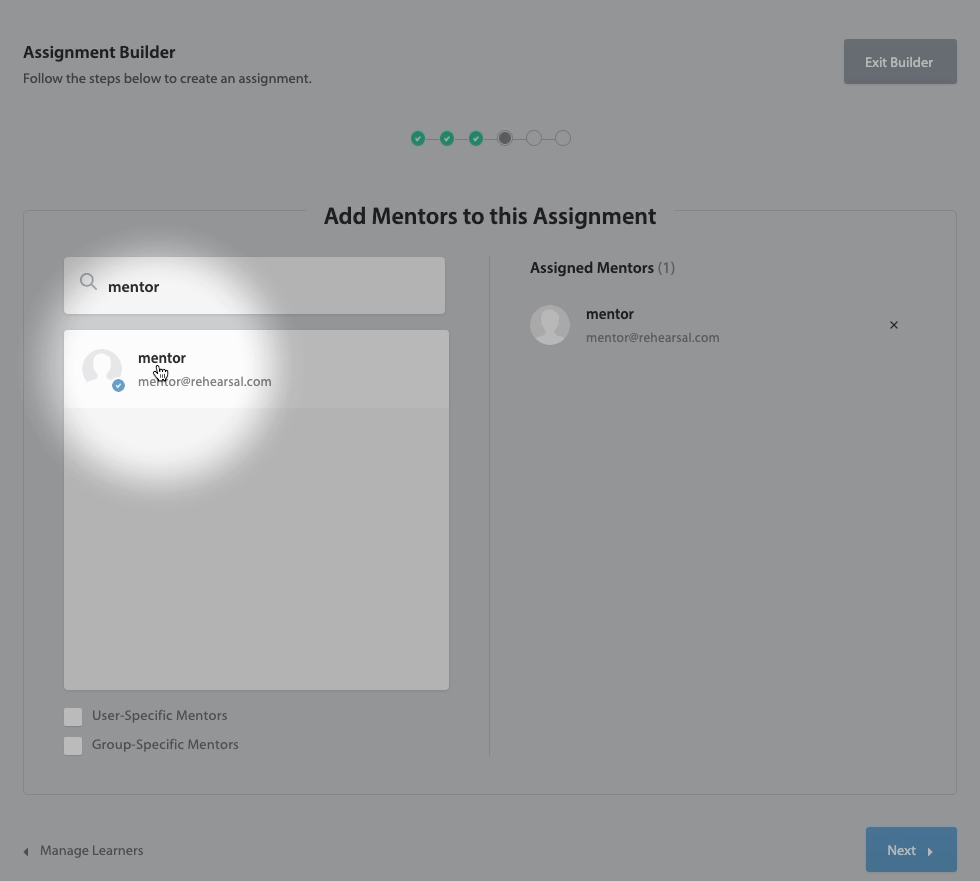

If you are using User-Specific Mentors or Group Specific Mentors, remember to enable them by clicking the check boxes in the bottom left.

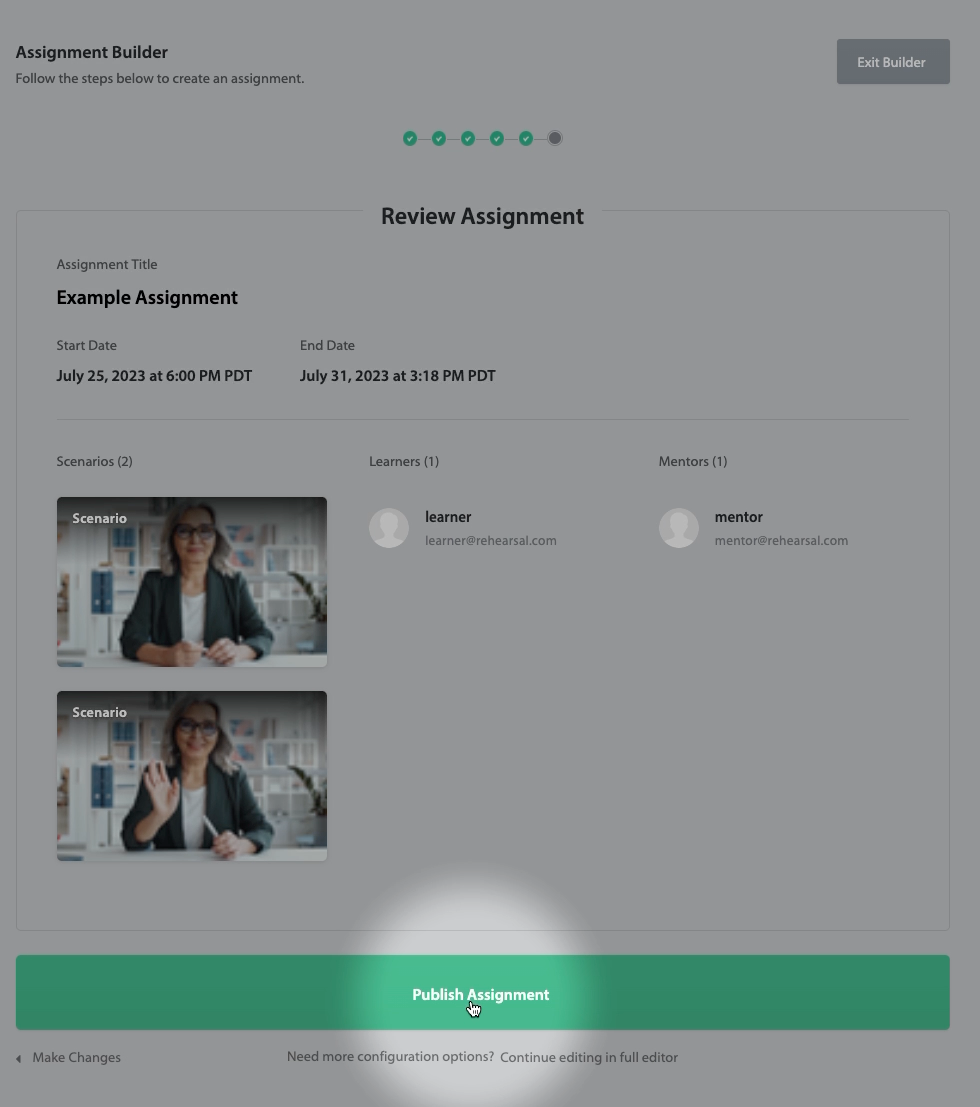
One of the final things we need to do is select the time and date range this assignment will take place. Select a start and end date for the assignment by using the clock and calendar
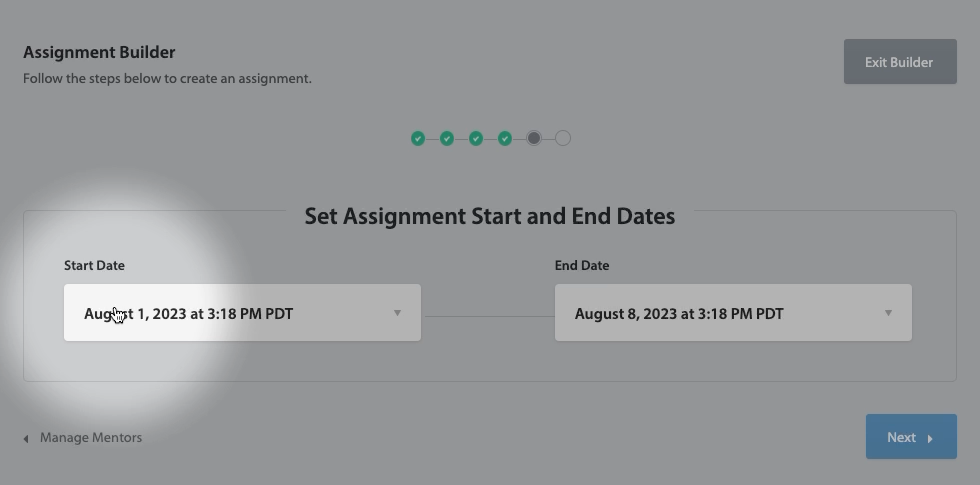
Select a time.
Note: (Time shows in your local machine time)
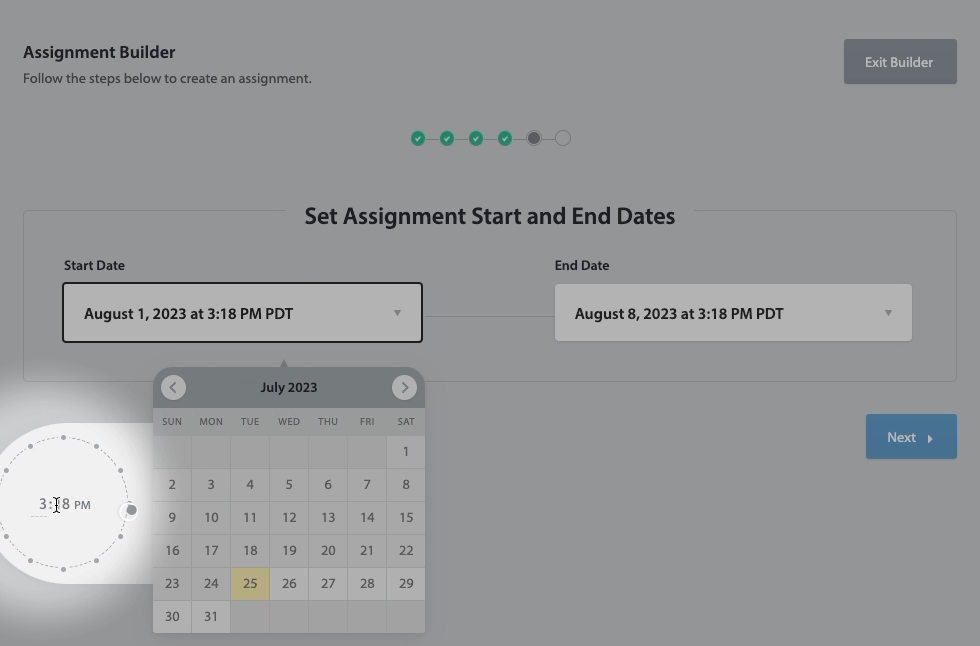
Select a date.
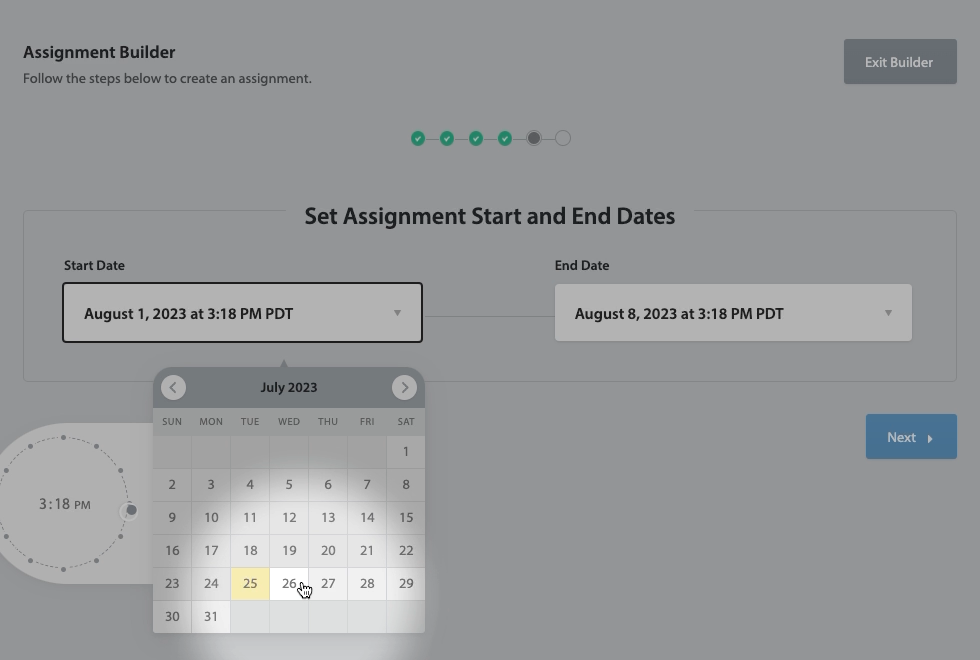
Do this same process for the End Date. Then click Next.
Finally, confirm all of the details of the assignment are correct, and click the Publish Assignment button.