January 10, 2022
A “Course” on the Rockstar Learning Platform is essentially a folder to group modules together. The Rockstar Learning Platform supports 3 levels of course folders so Admins can create both simple and complex course structures.
Create and Edit a Course
Step 1A: New Courses
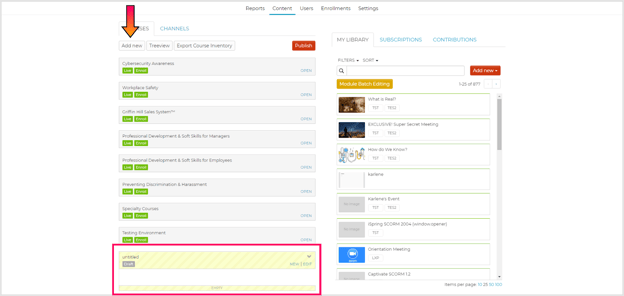
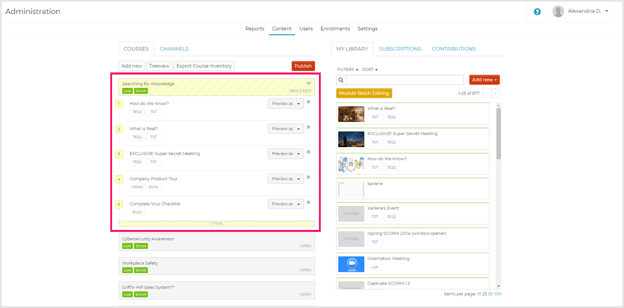
Navigate to the Content tab of the Admin portal. To create a new course, select the "Add New" button. A new course folder will appear as a draft (yellow box) at the bottom of your course list. You may have to scroll down to see the new folder.
Step 1B: New Subcourses
To create subcourses, select the "New" button in the course folder. A new course will be created within the original course.
Step 2: Edit Course
Click on the edit button to set up your course and fill out the course fields.
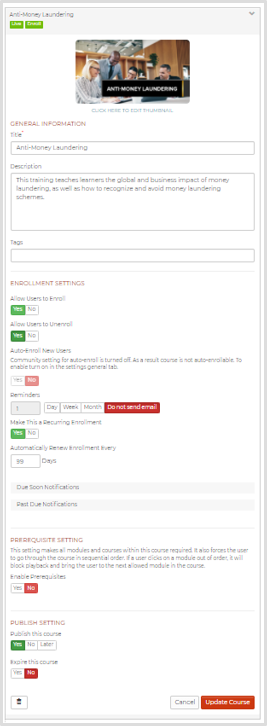
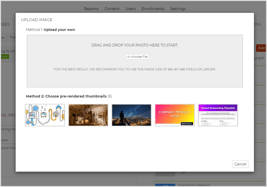
Thumbnail Image: There are two ways to choose a thumbnail image to display on the front end of your platform. You can either upload a thumbnail image from your computer, or you can choose a pre-rendered thumbnail from the thumbnail images of any module within your course.
Note: The recommended file formats are PNG or JPEG. The recommended thumbnail dimensions are 864 pixels x 486 pixels.
Title: To publish your course, you must include a title. This is the only required field when setting up your course. The title will appear to your users on the front end of your platform.
Description: You can choose to add a course description for your users to view on the front end of your platform.
Tags: Type in the tag you want to add to the module. Press enter to confirm, and a box will appear around the new tag.
Note: Your users will be able to search by tags using the search bar on the Users Page. You can also view reporting data on completed modules by tag (See Media Reports).
Enrollment Settings: Enrolling a user into a course will allow admins to send users reminder emails to log back in and complete the course. Enrolling users also gives admins more reporting data on their users (See Enrollment Reports).
Caution: Users can only be enrolled in a course if they have access to the course by way of Learner Groups.
Note: If you enroll a user into the top-level course, all enrollment settings for sub-courses will be applied to the user. This includes email notifications for subcourses.
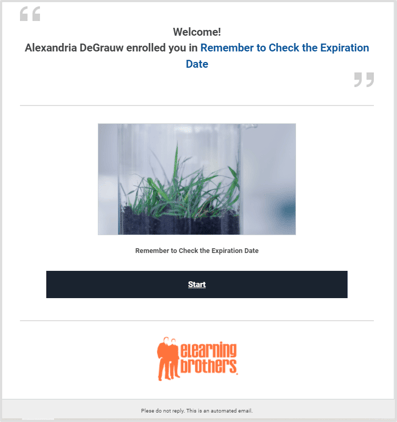
Allow Users to Enroll: Turn this setting on to make the course enrollable. Users can be auto-enrolled, enroll themselves in a course, or enrolled by admins manually after they have already been added to the platform (see Admin Manually Enroll Users in Courses). If users enroll themselves or are manually enrolled in a course, they will receive an enrollment email.
Caution: The course will not appear on the Enrollment tab if the course does not allow users to enroll, and users will not be able to enroll in any modules in the course.
Allow Users to Unenroll: Toggling this feature on will allow users to unenroll themselves from a course. If users unenroll themselves, they will NOT appear as "Enrolled" on the Admin portal Enrollment tab, or in the enrollment reports.
Auto Enroll New Users: To use this feature, you must first turn it on in the Settings -> Account tab. Once on, users will automatically be assigned to the modules that share their learner group. New users include:
- Users manually added or invited via the Admin Users page.
- Users imported through the batch uploader via the Users Admin page
- Users that self-register using the self-registration page.
- Users added via integrations such as Zapier or Infusionsoft.
Note: Users will not receive an enrollment email if they are auto-enrolled.
Reminders: Toggle this feature to send reminder emails. Set the frequency of the emails (e.g. 1 time per week).

Make this a Recurring Enrollment: Toggling this feature on will automatically re-enroll users in the course after the specified number of days (to a maximum of 999 days after the users were enrolled).
Related: To learn more about Recurring Enrollments, visit Setting Recurring Enrollments.
Due Soon and Past Due Notifications: Administrators can create up to 3 “due soon” and 3 “past due” notifications that will automatically be sent to users that were enrolled in the course with a due date. To create these notifications, select the gray bar and fill out the number of days, weeks, or months before or after the due date, and the Rockstar Learning Platform will automatically notify users with email and in-app notifications.
Note: “Reminders” must be enabled to set “due soon” and “past due” reminders.
Related: To learn more about due dates, “due soon” reminders, and “past due” reminders visit How to Set Enrollment Due Dates and Due Date Notifications for Courses and Modules.
Prerequisites: This setting forces the user to go through the course in sequential order. If a user selects a module out of order, the module will not open and the module page will inform the user which prerequisite module must be completed.

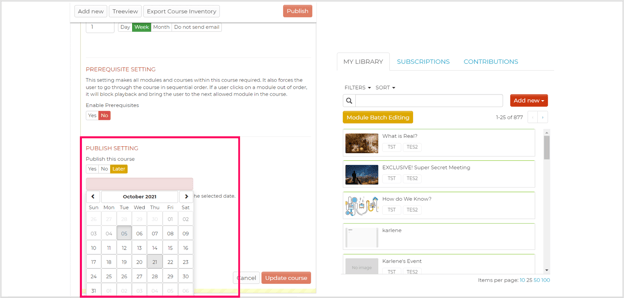
Publish Settings: You can choose when you want to publish your course using the 3 publish options:
- Yes - Click the "Yes" button to publish your course immediately.
- No - Click the "No" button to keep your course drafted until you are ready to publish it.
- Later - Admins can set a future publish date for courses. Content will be released at 1 AM EST on the specified date. To set a future publish date for your course, click on the "Later" button and choose your publish date from the calendar dropdown.
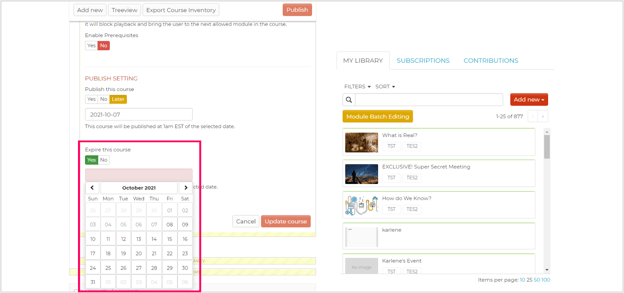
Expiration Settings: Select "Yes" under "Expire the Course” and choose an expiration date from the calendar. The course will be set to "draft" when it expires and will no longer be visible on the front end of the site.
Caution: When a course is created or edited, the course will appear yellow rather than grey. Yellow courses are not published and any changes are not saved.
Step 3: Publish Course
To save the course you must click on the red "Publish" button at the top of the page.
Note: It may take some time for your changes to be published. If you do not see your new course, wait a few minutes and refresh the page.

Step 4: Organize Course Order
The order in which courses appear under the Courses tab is the same order they will appear on the user page. Drag and drop the courses to reorder them.
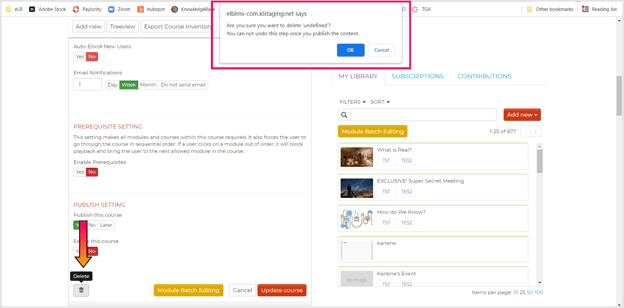
Delete a Course
To delete a course, select the trash can icon on the edit screen. Select “ok” on the pop-up verifying your choice and then Publish the course changes.
Once a course is deleted, users cannot access the course and Admins can no longer edit the course. Reporting data will still appear for this course except for the enrollment completion report since this report is based on live data.
Caution: Deleting a course cannot be undone once the course changes have been published.