In this How To, you will learn: How to add content, change hyperlinks and buttons, and edit correct/incorrect response slides in our Scenario Templates.
Covers 1-to-1 Scenarios, 1-to-Many Scenarios, & Device Scenarios
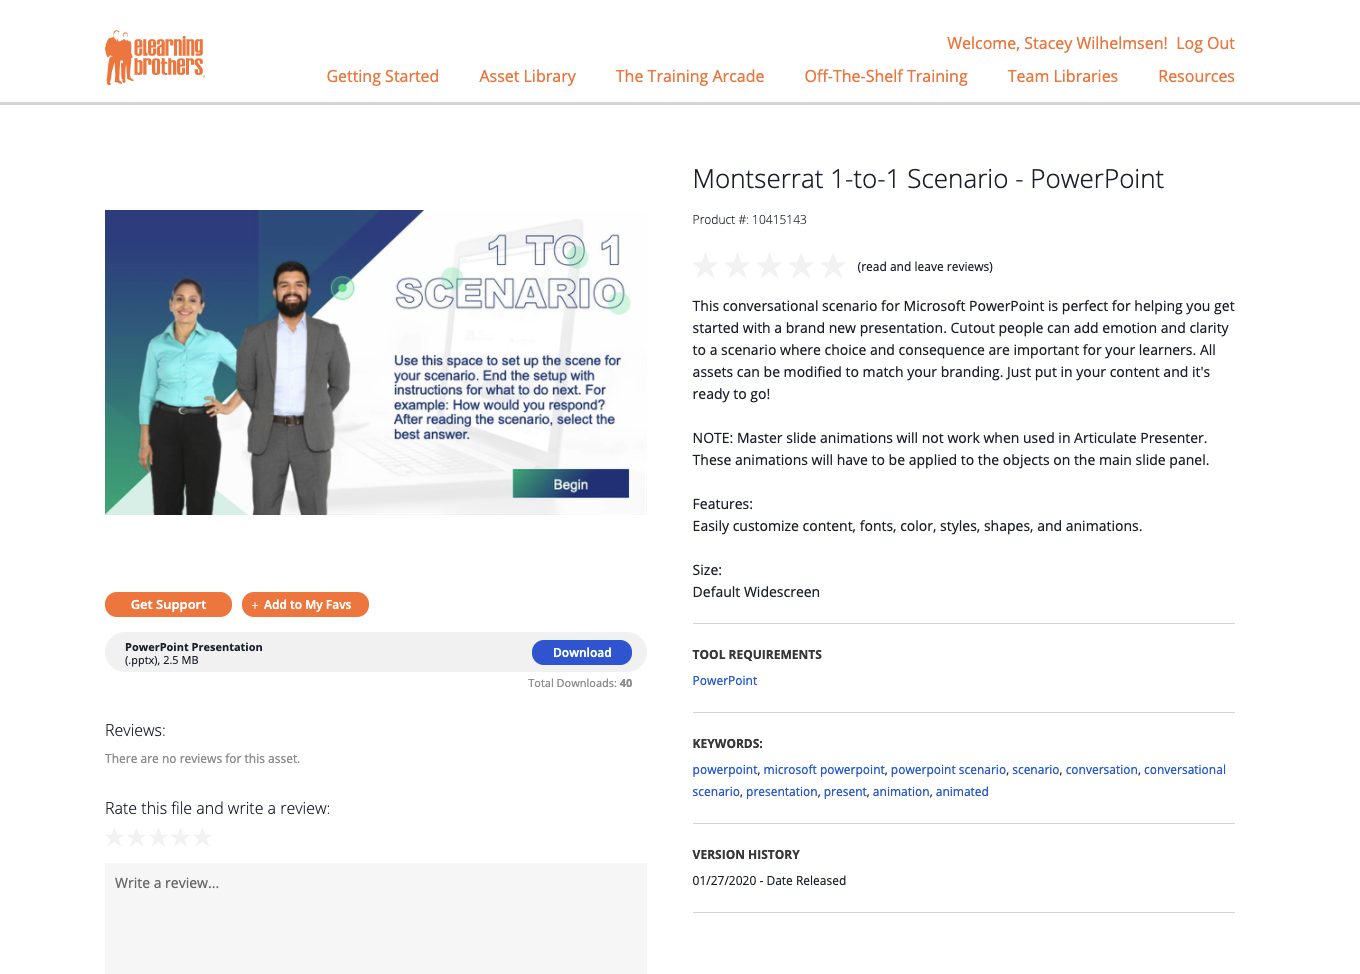
- Pick a style from the PowerPoint Library
- Download files you wish to use
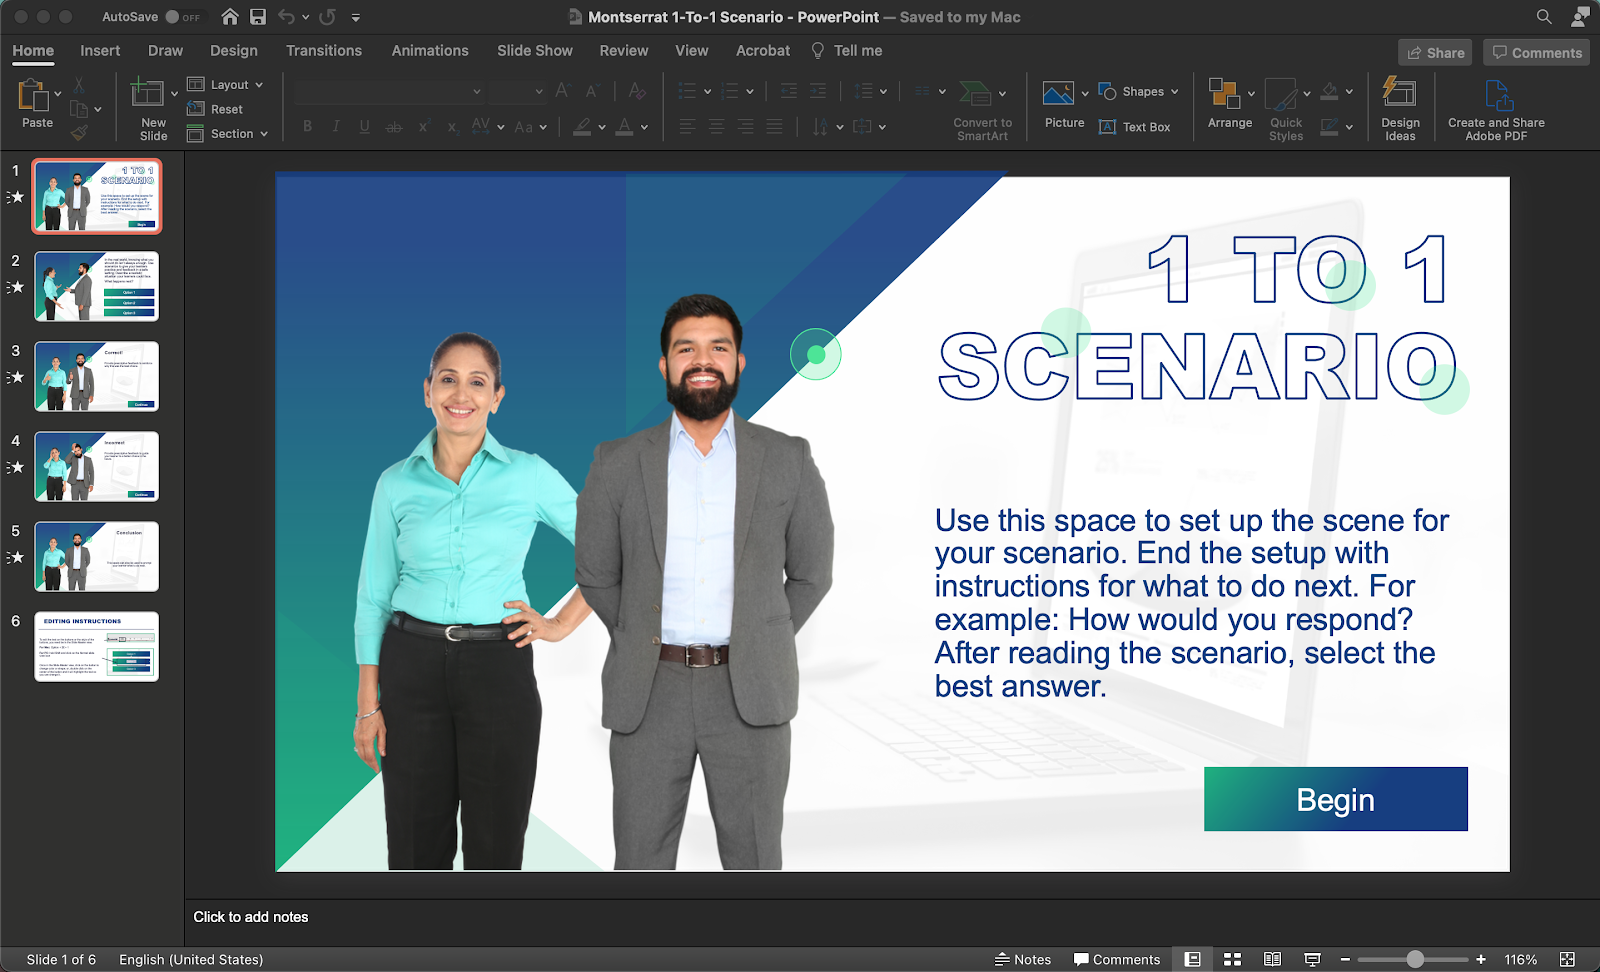
- Open the file in PowerPoint
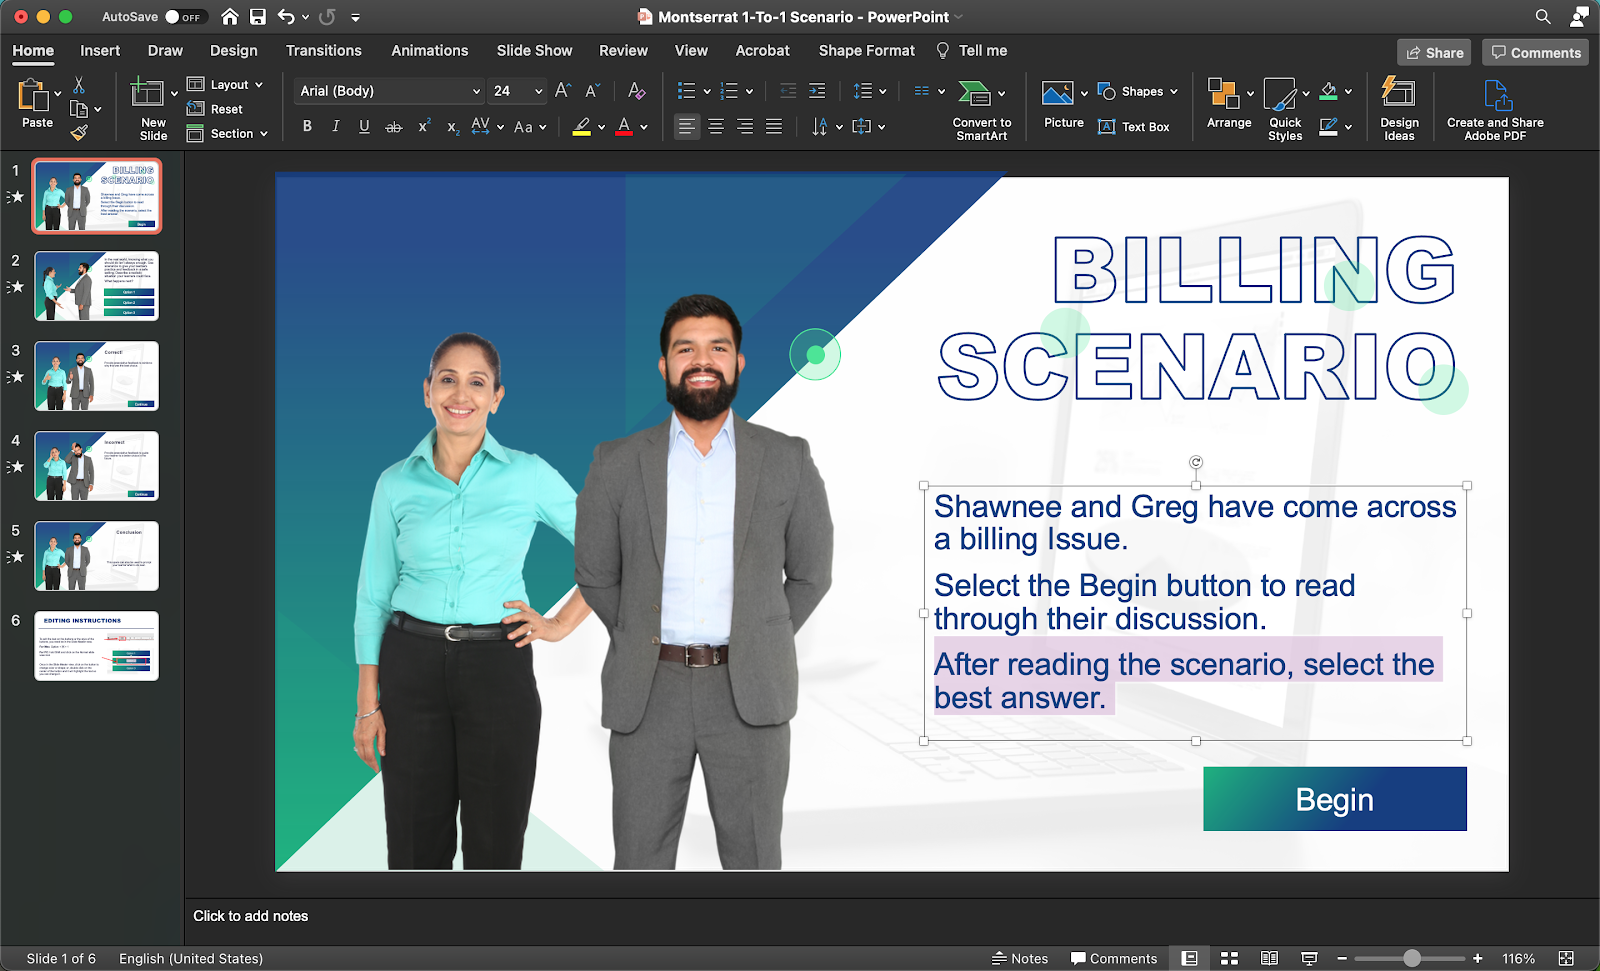
If you are adding these slides to another file follow these steps here » - Add your content to the slides by clicking on the text box, highlighting the copy and typing in or pasting your own.
- Change hyperlinks to reflect any content/page changes
- Click on the “View” tab, then go to “Master” › “Slide Master”
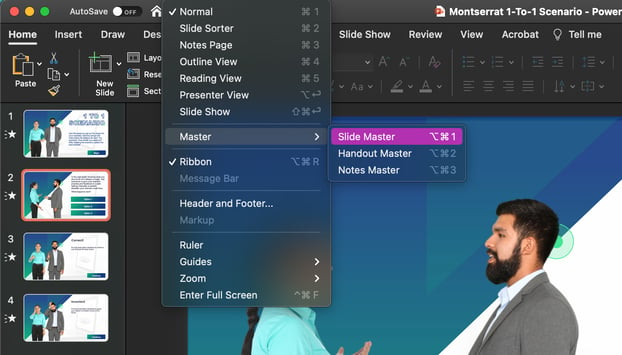
OR hold Shift and click on the Normal slide view icon (for PC) or Option + ⌘ + 1 (for Mac)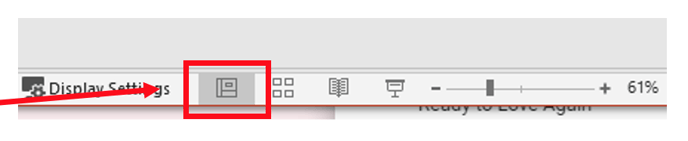
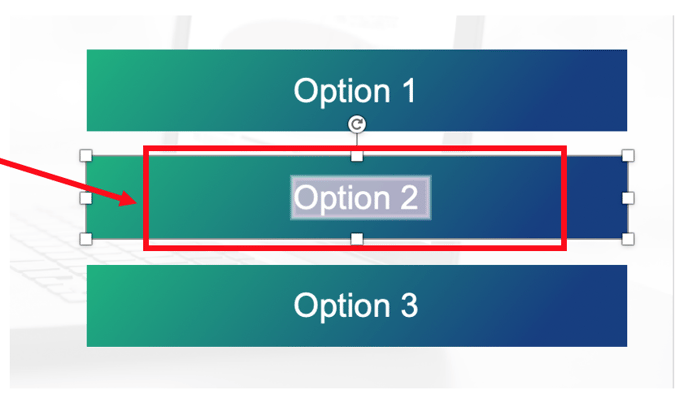
- Once in the Slide Master view, select the button(s) you wish to update. This will allow you to change its color, shape, font, or font color. Double click on the center of the button and it will highlight the text so you can update that as well.
- To edit which page the button is hyperlinked to; right click on the button you wish to change and go to “Hyperlink” › “Edit Hyperlink”.
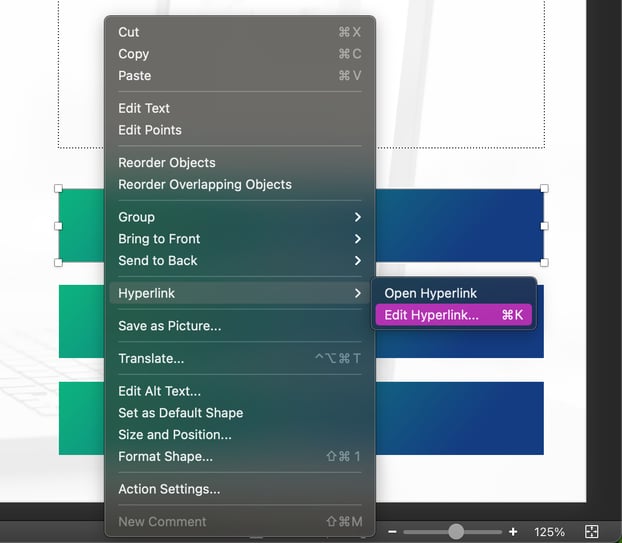
OR Control K (for PC) or ⌘ + K (for Mac) - This will open the “Edit Hyperlink” window. From here you can simply click on the slide number or slide name to change which slide the link is going to. Then click “OK”.
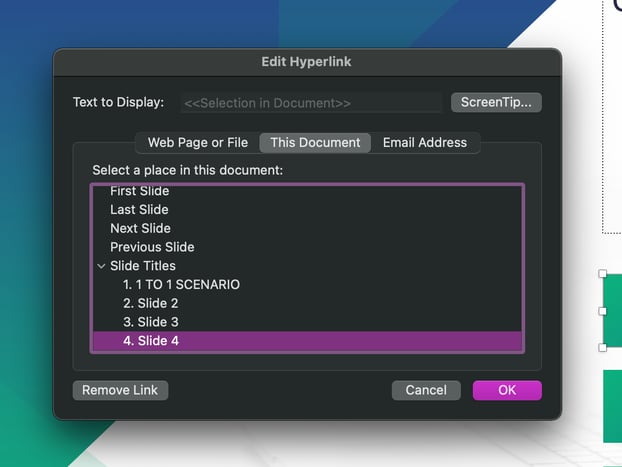
IMPORTANT NOTE: You have the option to choose “First, Last, Next, or Previous slide” as well. If you choose to use any of these be aware that if any of the slides get moved around after these have been selected/set your hyperlink will no longer go to the correct page. It is good practice to rename your slides/master slides with unique names so it’s easier to identify them when hyperlinking to them.
- Click on the “View” tab, then go to “Master” › “Slide Master”
- Add or delete buttons and slides to reflect your content
- To add a button simply copy one of the existing buttons (don’t forget to update the hyperlink for it) (while in the master slide view) OR draw a simple shape, add your button text to that shape then follow the steps to add/edit the hyperlink.
- To delete a button simply select the button shape (while in the master slide view) and hit the Delete key on your keyboard.
- Don’t forget to delete the “Editing Instructions” slide as well.
- Don’t forget to save!


Pro Tip: Go back through your course/presentation in “presentation mode” to check that your slides are in the correct order and all your button links/hyperlinks are working correctly.