In this How To, you will learn: How to create and edit themes, add theme fonts and colors, and change themes
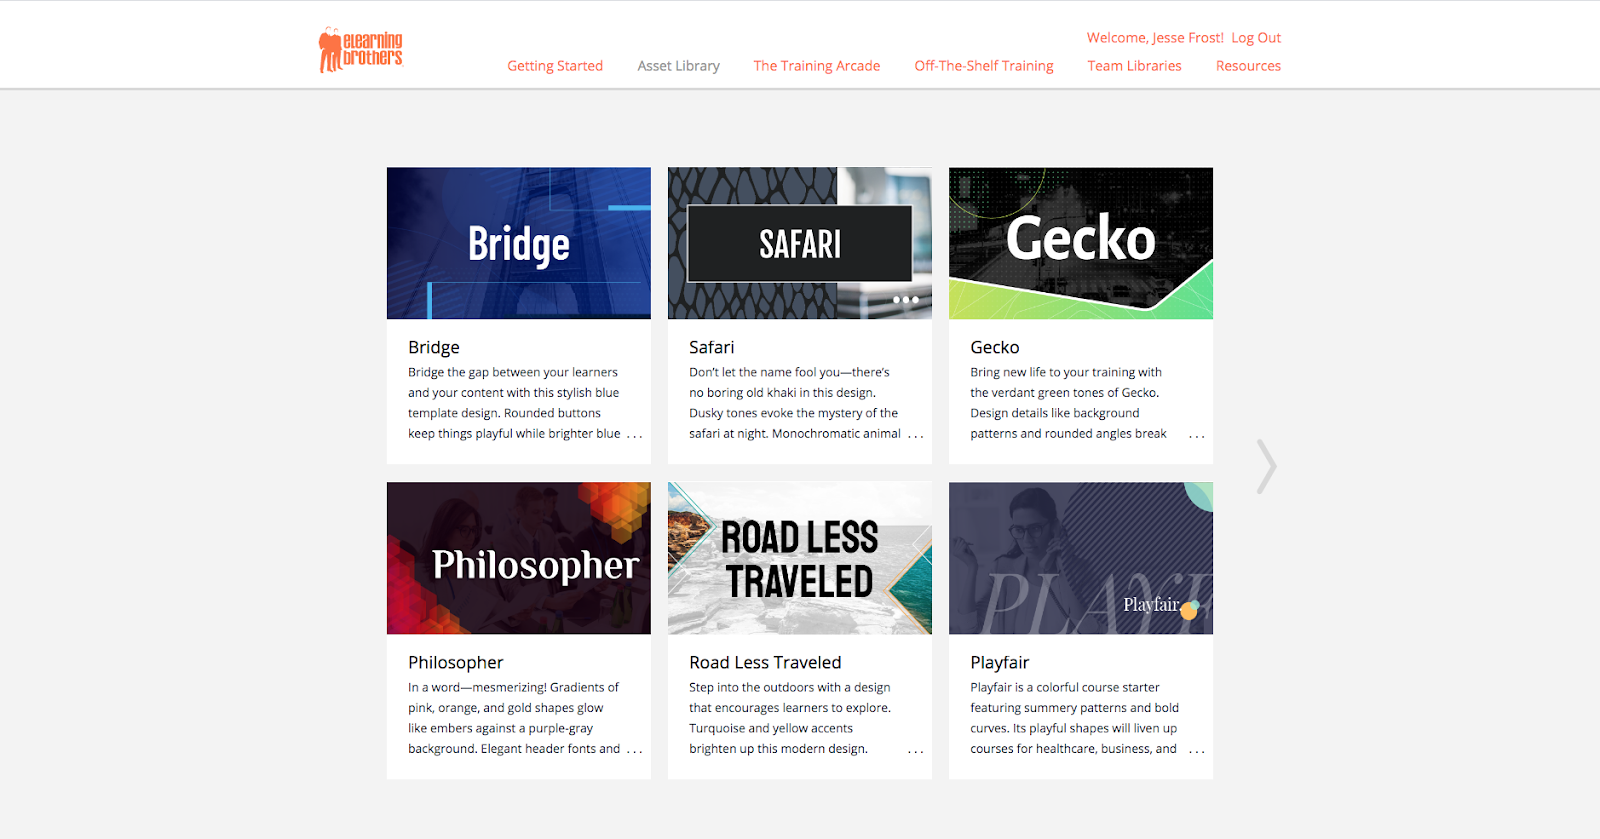
- Pick a style from the PowerPoint Library.
- Download files you wish to use.
- Open the file.
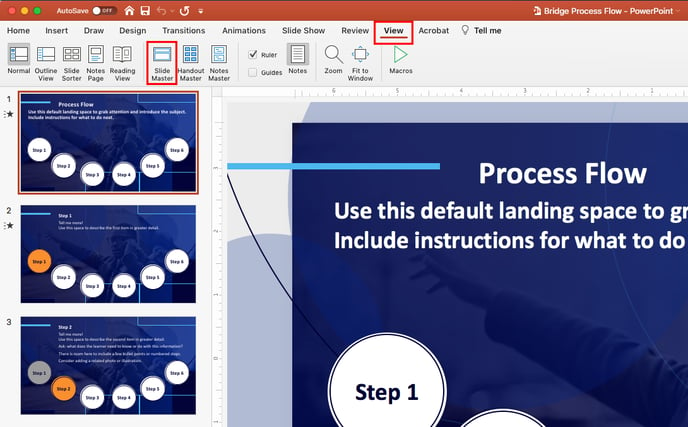
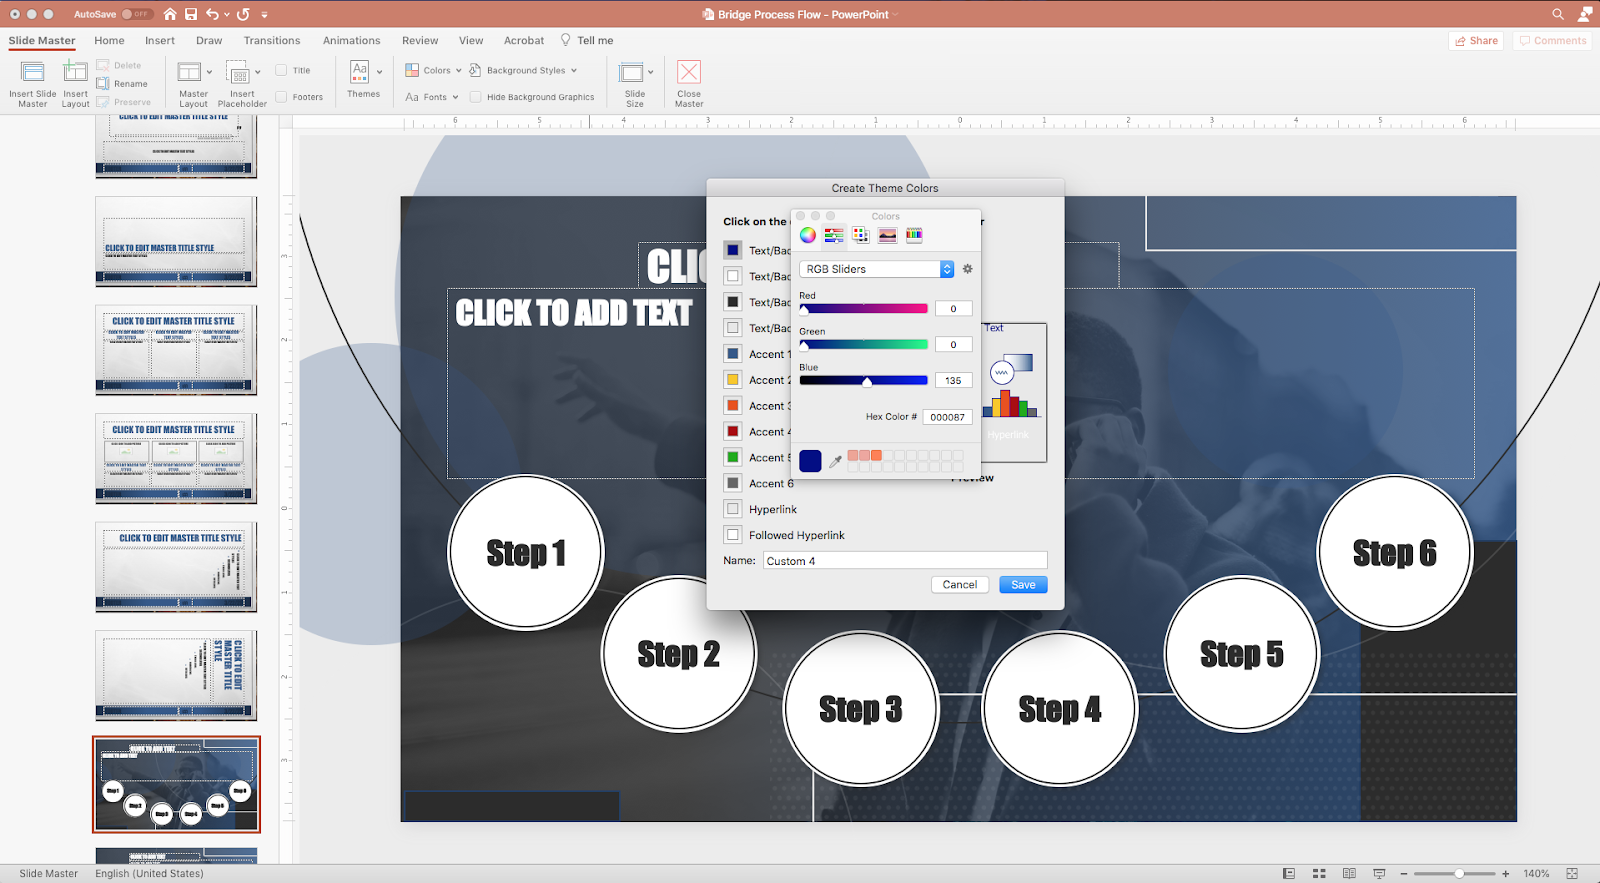
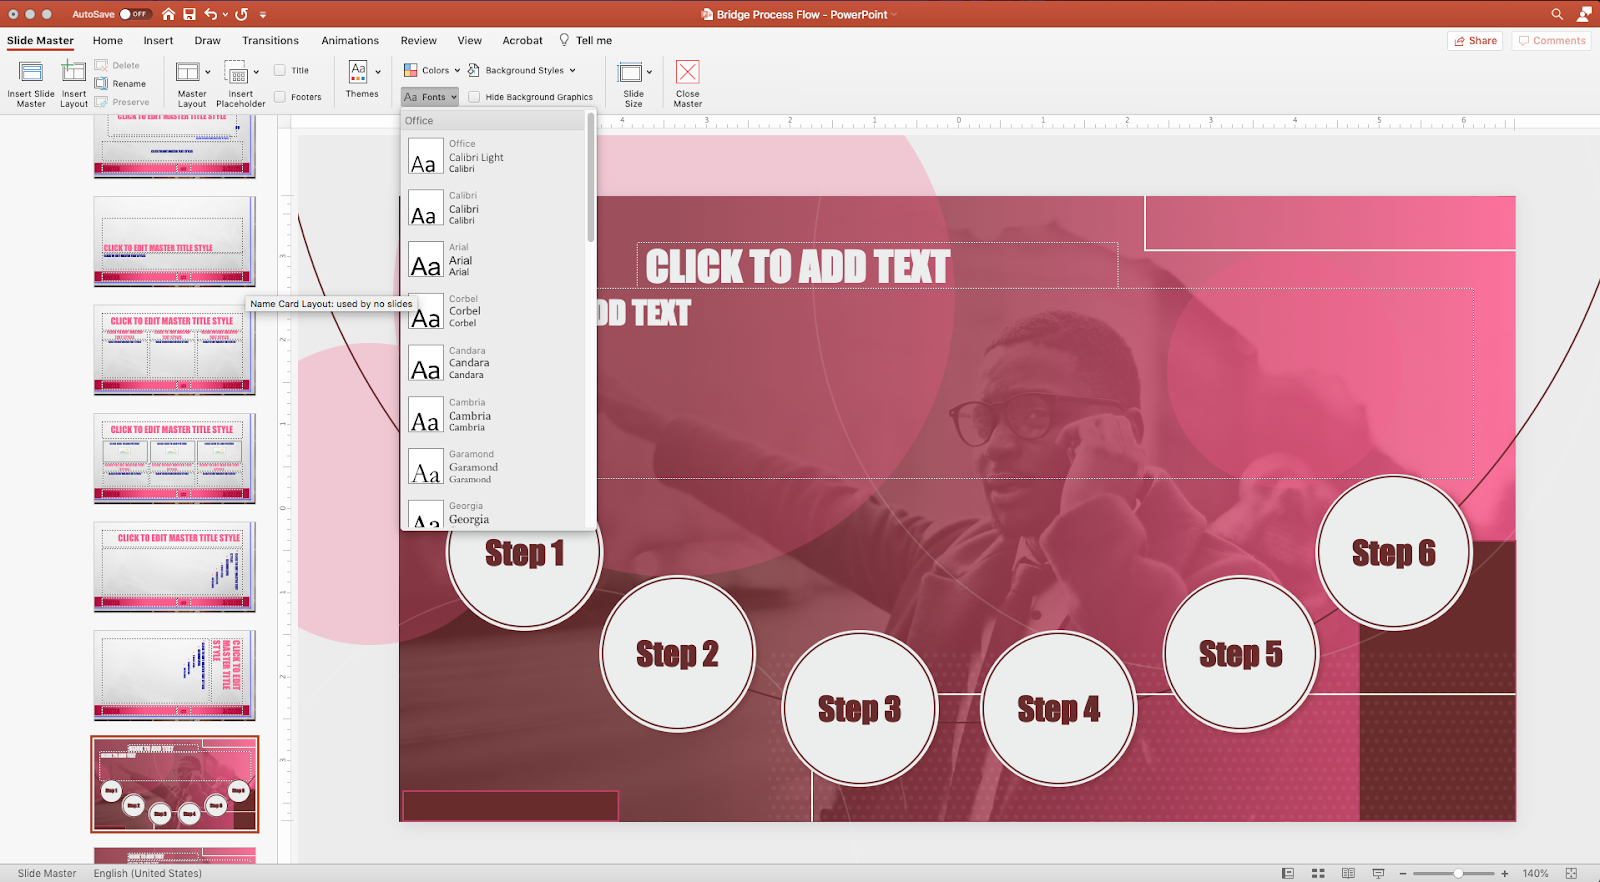
- Select View › Slide Master › then choose a built in theme, color pallet, and fonts, or pick custom colors.
- Built in PowerPoint themes are found in the Themes dropdown and include preloaded color and font choices. One click here can change the look and feel of the whole presentation.
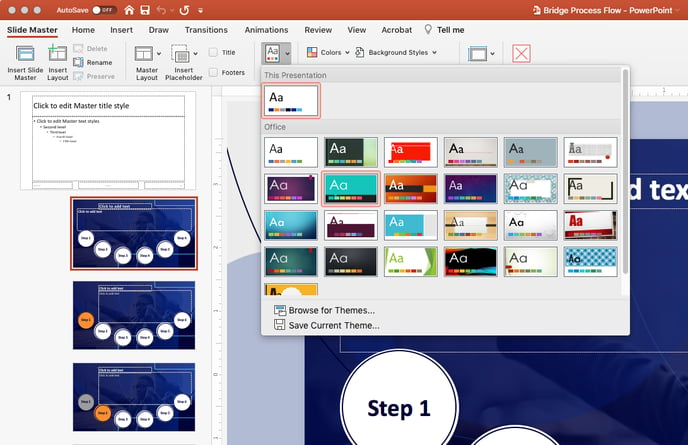
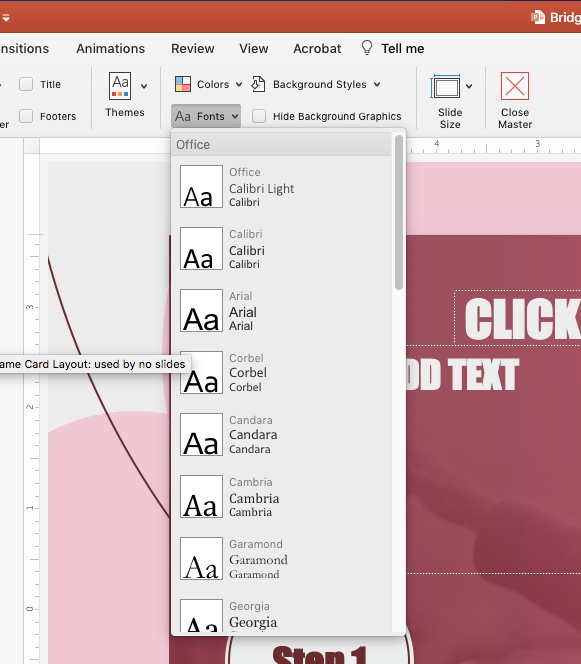
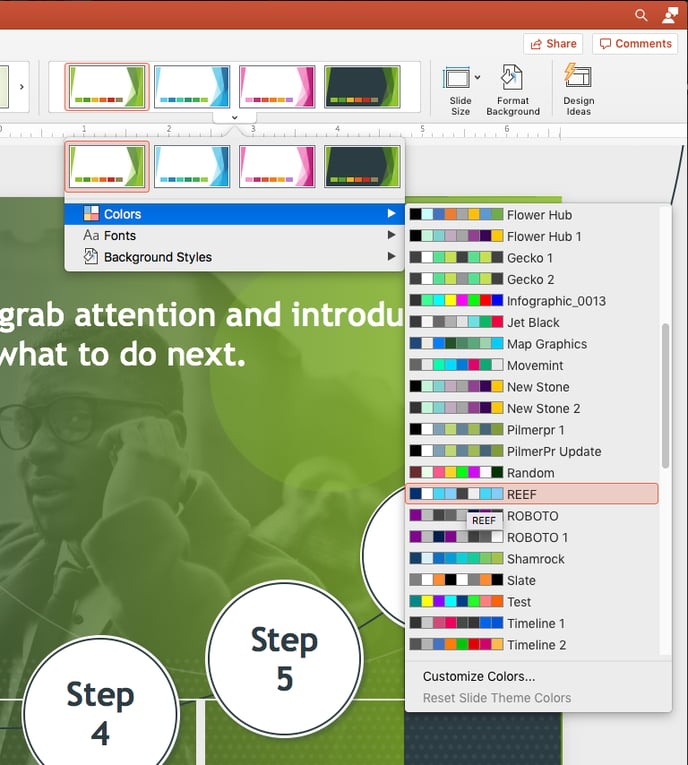
- Prebuilt color pallets found in the Colors dropdown allow you to change the colors in the style without changing the fonts.
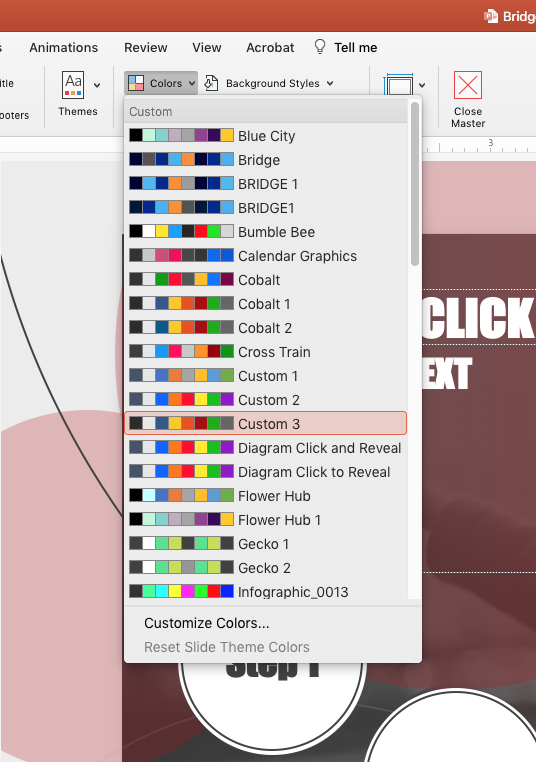
At the bottom of the Colors dropdown you can select and create a custom color pallet for your project.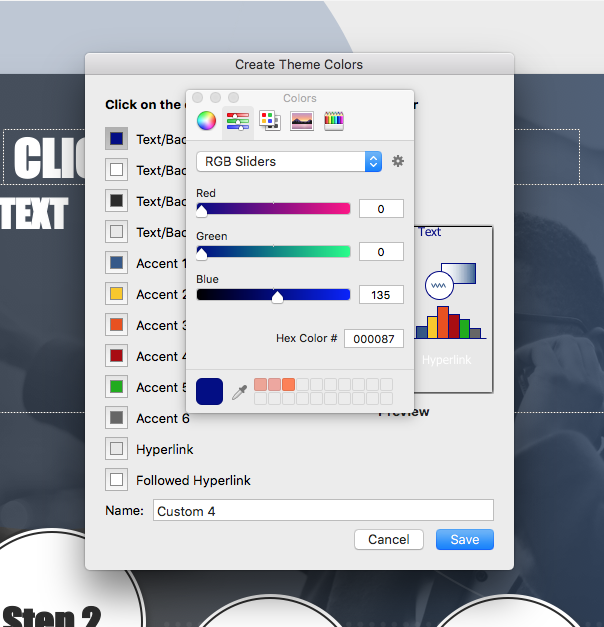
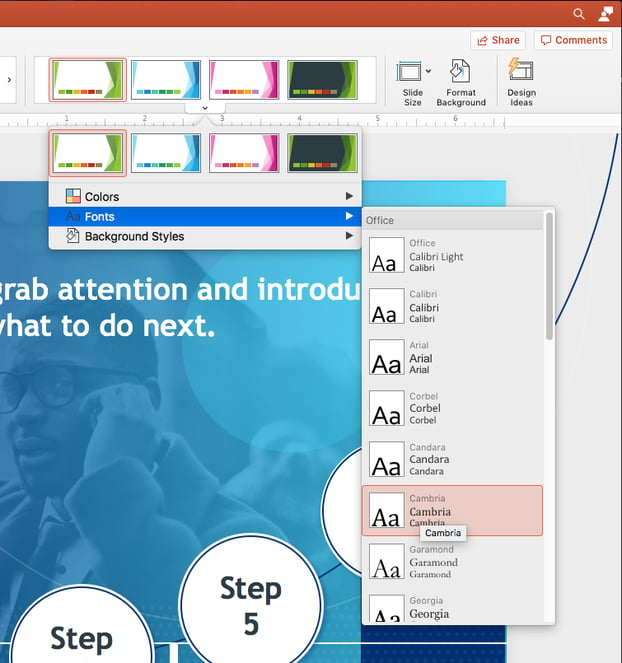
IMPORTANT NOTE: Once a custom pallet is created and saved it will always show up in the Colors dropdown so you can use it on other future projects. - Built-in fonts can be selected and changed in the Fonts dropdown. You can choose the combination of fonts that you want to use here.
- Built in PowerPoint themes are found in the Themes dropdown and include preloaded color and font choices. One click here can change the look and feel of the whole presentation.
- Pro Tip: You can also pull in any font from your computer by going to “Format” in the main PowerPoint menu and selecting “Replace Fonts…”.
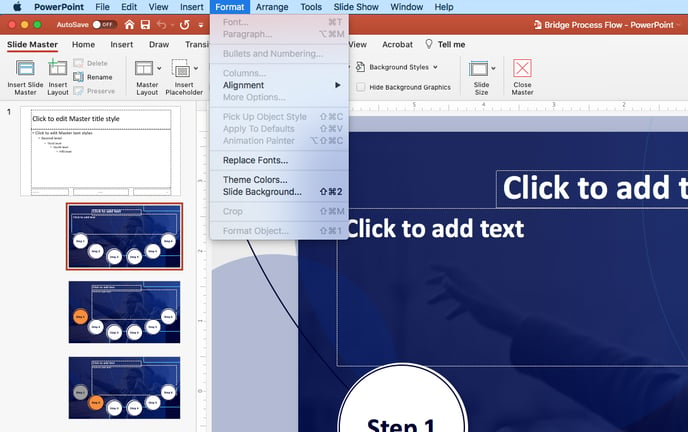
- You will be given the choice to replace a font that has been included with PowerPoint with any font from the computer you are working with.
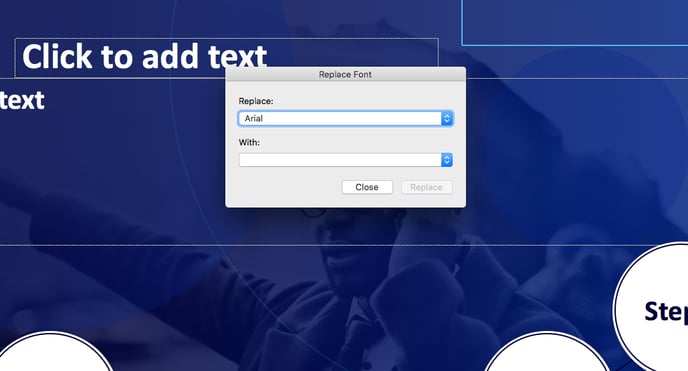
- Just select the font you want to include and click the “Replace” button to activate the custom font you want to use in your project.
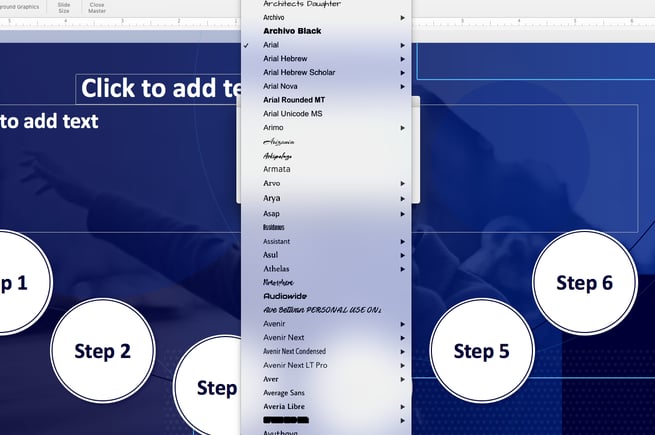
- You will be given the choice to replace a font that has been included with PowerPoint with any font from the computer you are working with.
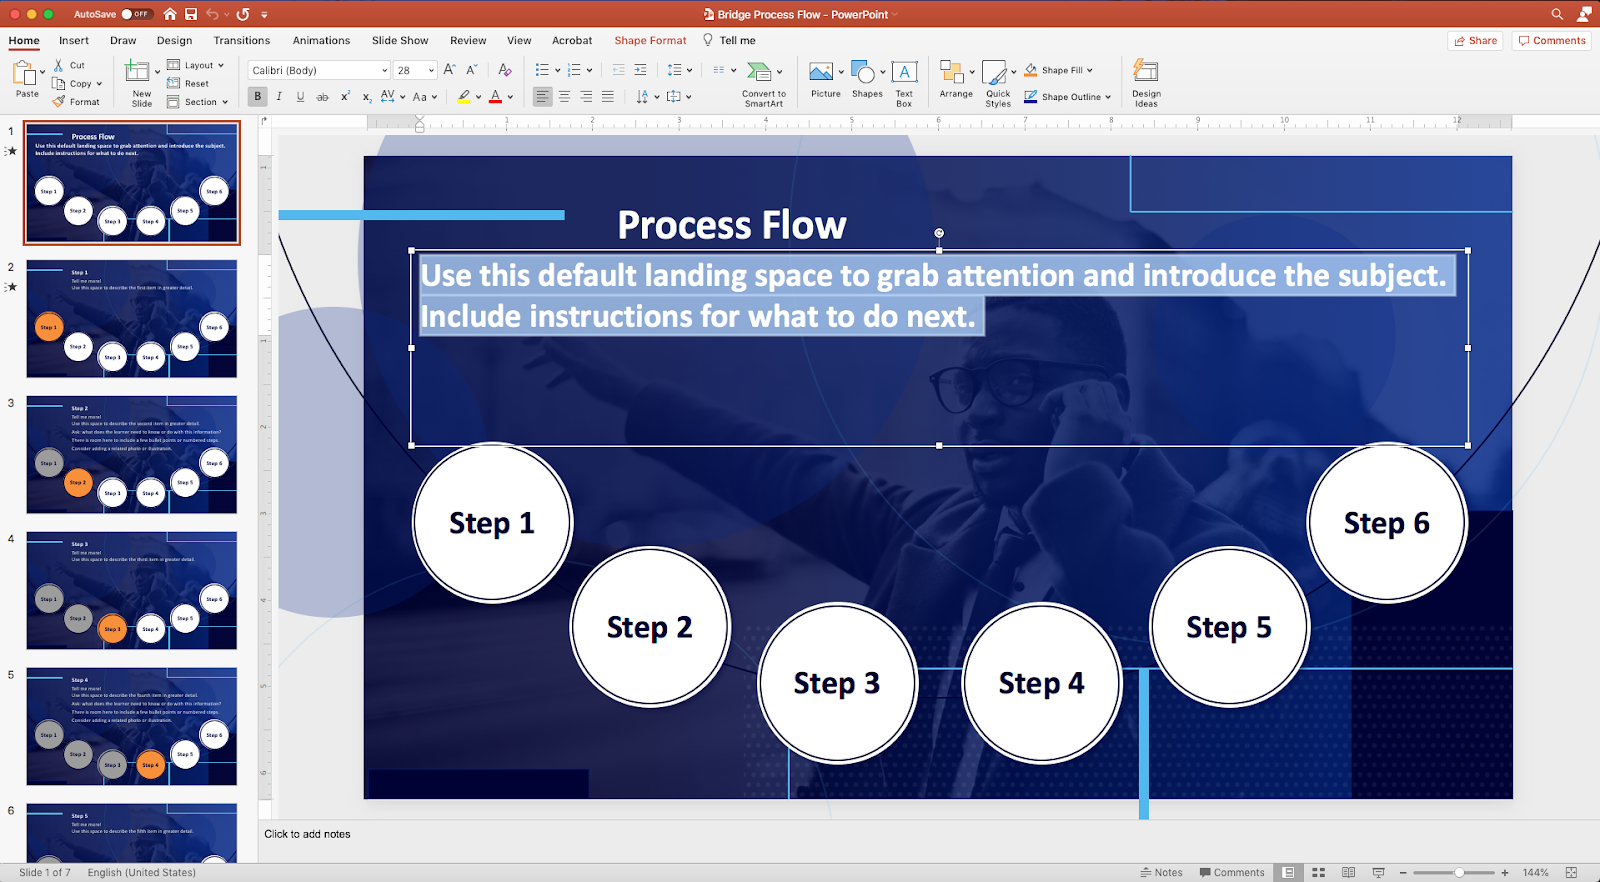
- Close master slides.
- Click the red X in the menu to close the Master Slide view and return to filmstrip view.
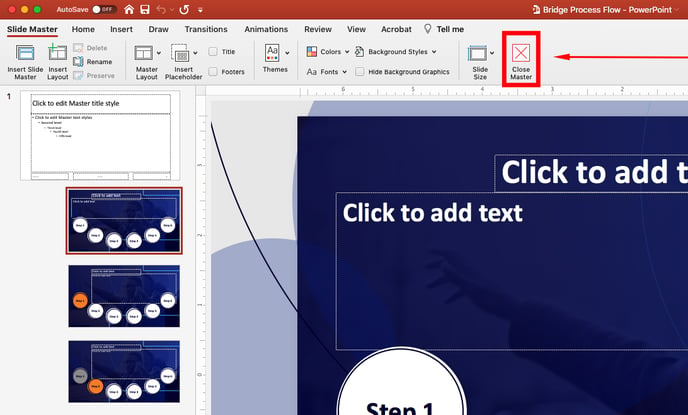
- Click the red X in the menu to close the Master Slide view and return to filmstrip view.
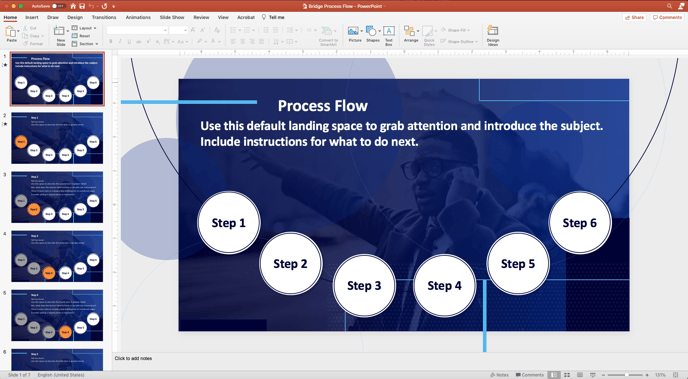
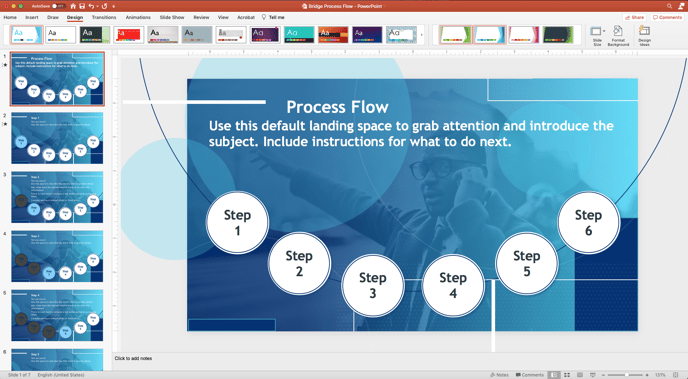
- Add your content.
- Once you’re back in the filmstrip view, select the placeholder content and replace it with your content.
- Once you’re back in the filmstrip view, select the placeholder content and replace it with your content.
- OR
- Open the file.
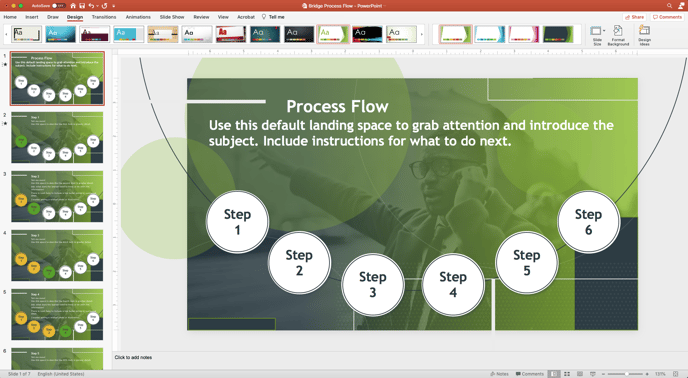
- Select Design › Choose a built in theme, color pallet, and fonts from the drop down menus.
- When you select design in the menu a Themes slider will show up at the bottom of the menu ribbon.
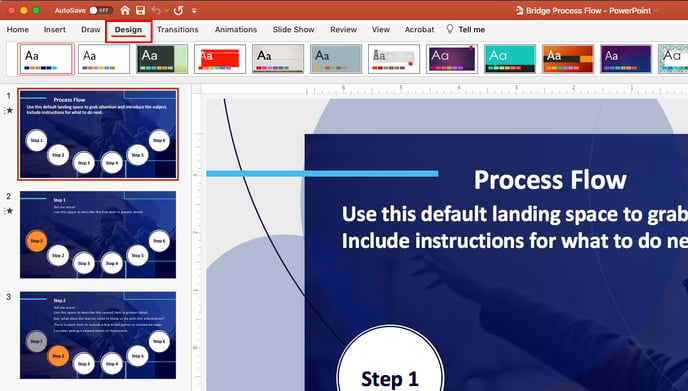
- Each built in theme also has a few color pallet options that will show up to the right of the theme slider.
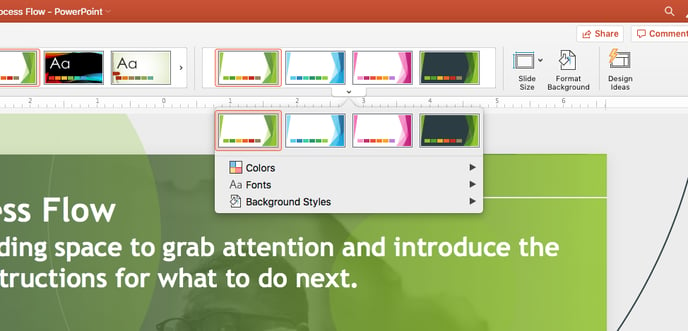
- If you hover over the color pallet area a dropdown arrow will appear and give you options to choose color pallets and font choices.
- Follow the same steps to choose different fonts.
- Open the file.
- Add your content.
- Select the placeholder content and replace it with your content.
- Select the placeholder content and replace it with your content.
- When you finish adding your content and making changes to the graphic elements, be sure you save your file.


Pro Tip: Go back through your course/presentation in “presentation mode” to check that all your slides are in order and all of the content that you added is showing up properly.
