- ELB Learning Knowledge Base
- Course Starters
- Captivate Course Starters
-
Lectora®
- Quick Win Tutorials
- Getting Started
- Modular Development (ModDev)
- Quick Guides
- Best Practices
- Navigating the Workplace
- Building a Title
- Importing Content
- Working With Text
- Working with Images
- Working With Objects
- Actions and Variables
- Tests, Surveys, and Questions
- Working with Web Windows or HTML Extensions
- Publishing a Title
- Creating Web-based, Accessible Content (Section 508/WCAG)
- Lectora Layouts
- Managing Titles
- Managing your Assignments
- Managing Your Notifications
- Communicating
- Admin Guide
- Lectora Player Skins
- Lectora Interactions and Scenarios
- Games
- Misc.
- Programming
- General
- Using Tracking for Progress, Status, etc
- Working with BranchTrack
- Trouble Shooting
- Working with Audio and Video
-
CenarioVR®
-
MicroBuilder™
-
The Training Arcade®
- Arcades™
- Video Overviews
- FAQ's
- Recent Feature Videos
- Game Analytics
- Customer Feedback
- Demo Information
- General Admin
- Building Your Game
- Analytics
- Compatibility and Integrations
- Data, Security, and Privacy Policy
- JEOPARDY!®
- Jump
- Scenarios
- Trivia
- Trivia Virtual Instructor-Led Mode (VILT)
- Sort-It
- Scramble
- Recall
- Match
- Detective
- Translations
- New User Information
- Custom Branding Opportunities
- Registration and Leaderboard
- JEOPARDY!® Virtual Instructor-Led Mode (VILT)
-
Asset Libraries
-
Rockstar Learning Platform
-
Rehearsal
-
Off-the-Shelf Training
-
ReviewLink®
-
The Learning Creation Studio
-
CourseMill®
-
General Topics
-
xAPI
-
Template Styles
-
Misc.
-
Articulate Storyline
-
Customizable Courseware
-
Course Starters
-
Camtasia
-
Group Administration
-
General
-
Can't find the answer? Ask our Customer Solutions team.
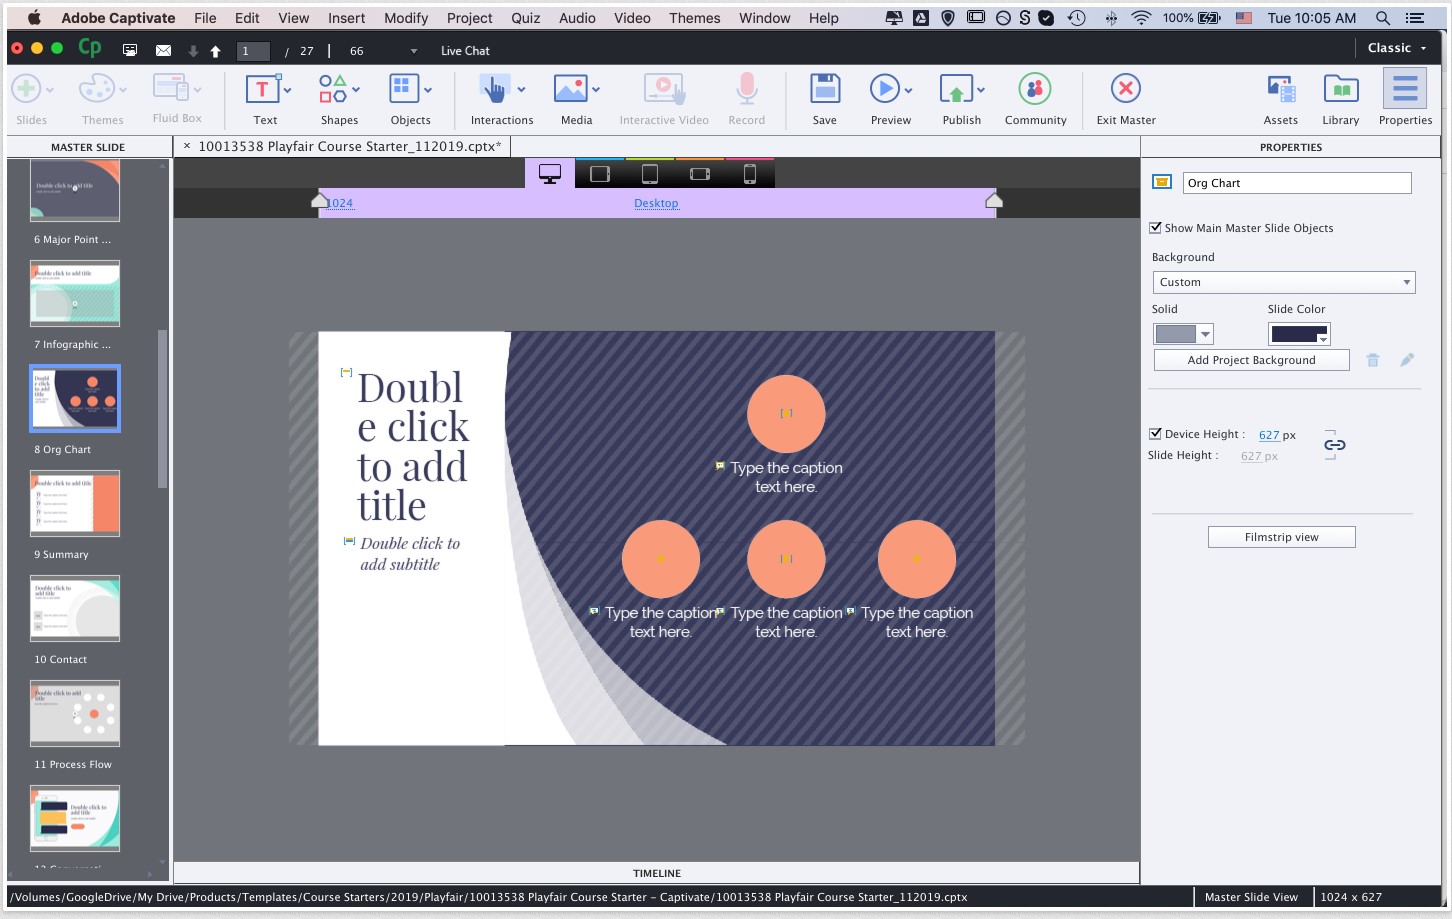
Masters
All files use fully-functional, unique slide masters to ensure editability and ease of use.
Placeholders are used as much as possible to provide you with more control over the design of your slide, should you choose to make changes or start a new slide from scratch.
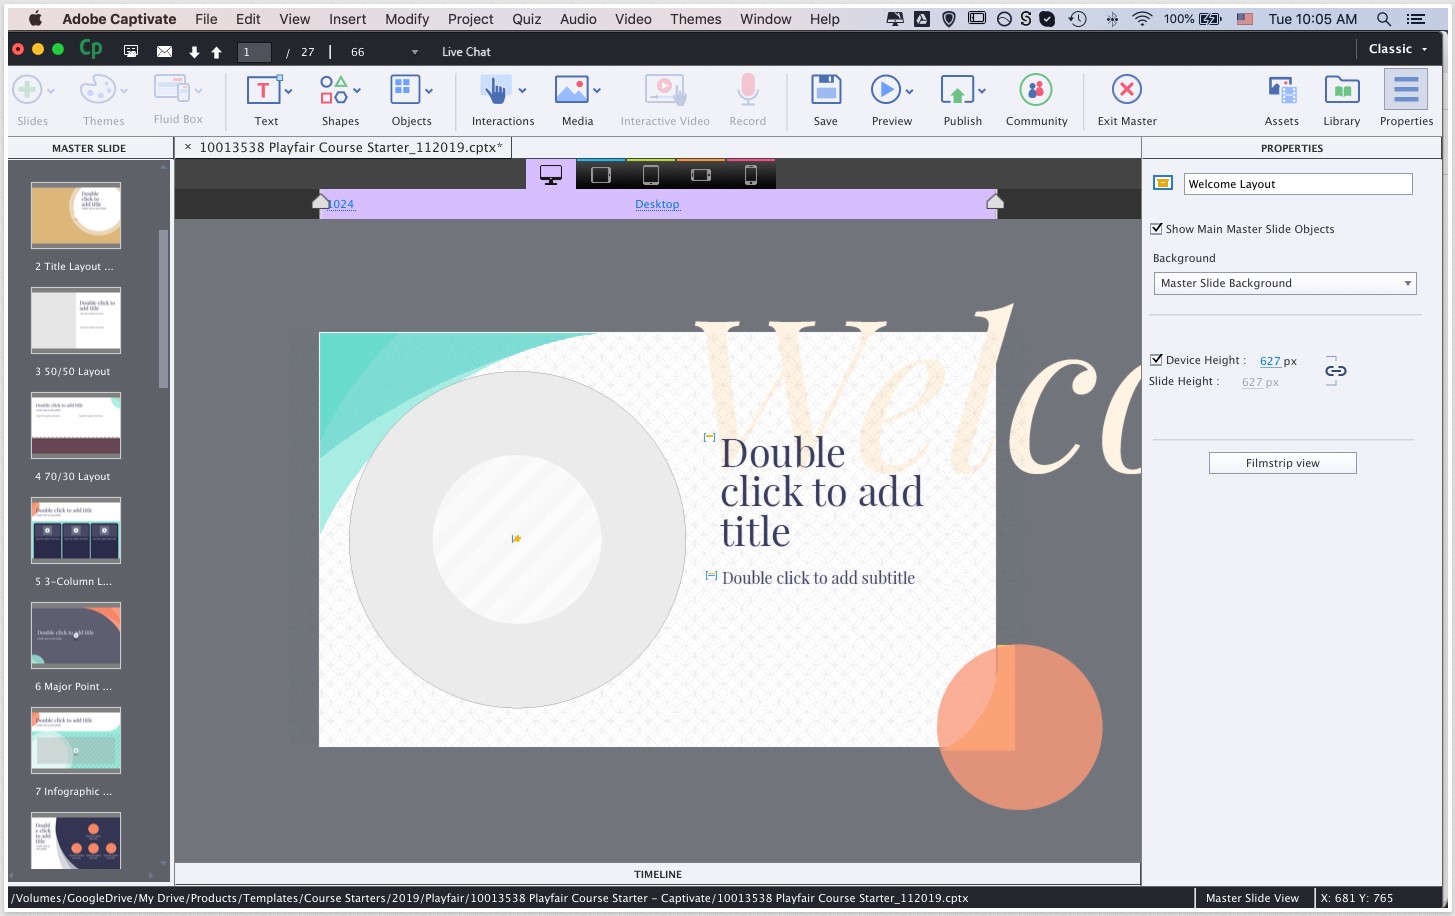
To use a slide as-is, just edit over the content on stage. Object positions are already optimized for each device view for you.
To edit text, just select all and type away.
To edit images—like characters or the background images—you’ll need to either delete the image that exists, then use the Captivate prompt to replace, or, simply adjust the fill of a smartshape placeholder. We use these two different methods based on what best suits the slide design at publish. We’ve included handy instructions just off stage to tip you off to the method used on a given slide.
To start a slide from scratch, navigate to the program menu, and select Insert > New Slide From, then select the master you’d like to use.
If you choose this option, you'll get placeholders for all critical elements on the stage that you can edit, resize, and/or reposition easily to match your content.
Some of the more decorative elements intended to reside above the bottom element of the master or that need to be edited on the timeline may be absent or static.
This is due to the way Captivate handles objects on the master layer.
In most cases, we’ve placed reference (decorative) items on the master for you to copy back into your working slide.
That said, the significant majority of decorative elements used throughout Course Starters are in-tool or custom SVGs that can be edited quite easily. This allows you to easily restyle, recolor, or re-use elements across a project or between projects.