Note from the Product Manager
At Rehearsal, our commitment is to iteratively enhance your experience by introducing new features that align with evolving technologies. As a result, the guide you are about to read may differ in appearance or functionality from the current version of Rehearsal. We appreciate your patience as we work diligently to update our product documentation.
If you are running into specific issues, feel free to reach out to support@elblearning.com
Written: Step by step
Step 1: Open Programs
Begin by clicking on the Programs tab.
Step 2: Create Program
Click on New Program.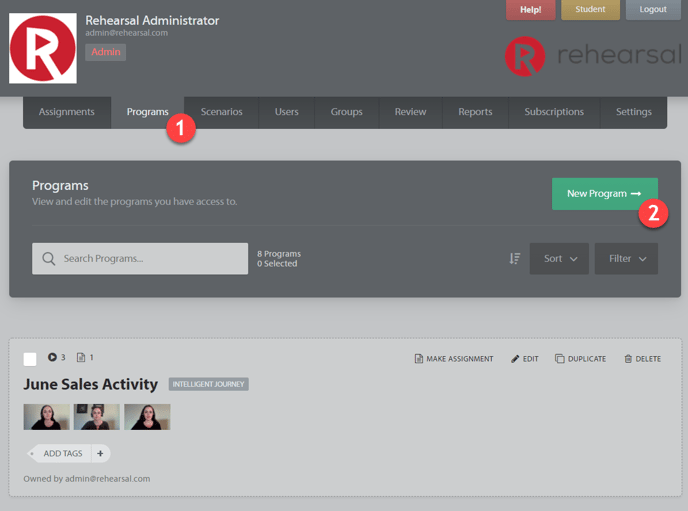
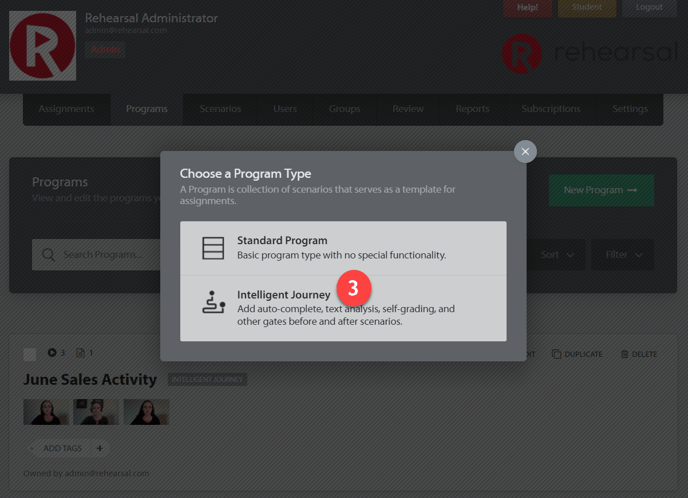
Step 3: Select Option
Click on Intelligent Journey.
Step 4: Title
Title the Program
Step 5: Add Scenarios
Add Scenarios to the Program by clicking on Add Scenarios.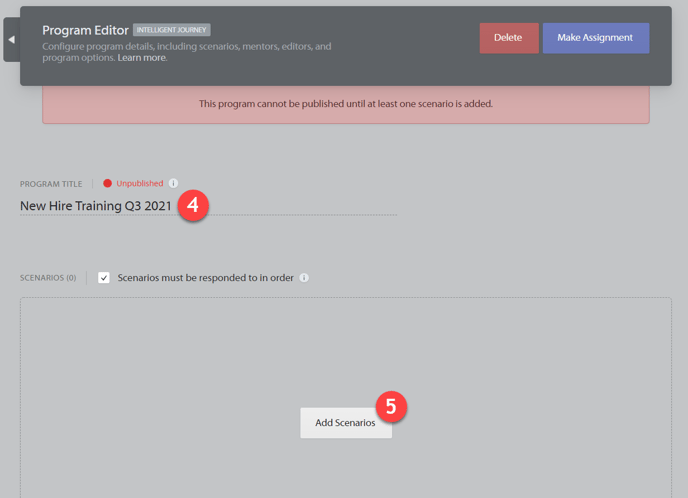
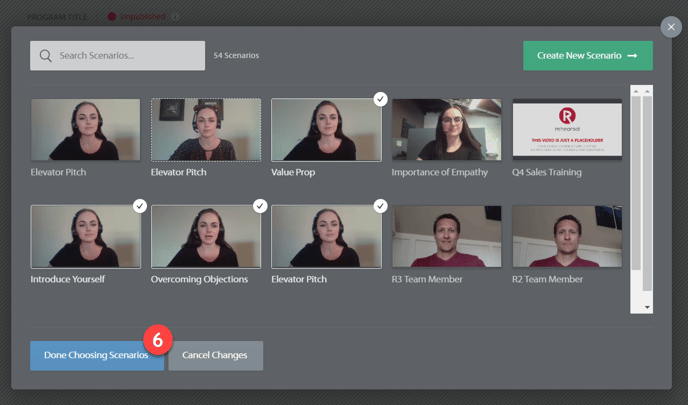
Step 6: Choose Content
Select the Scenarios you'd like to use in this Program, then click Done Choosing Scenarios. If you need to create a new Scenario, you can click on Create New Scenario. To learn how to create Scenarios, please refer to the How to Create a Scenario article here
Step 7: Scenario Order
You can rearrange the order in which the Scenarios appear by clicking and holding on the icon to the left of the Scenario video thumbnail and then dragging to the position you'd like it to be in.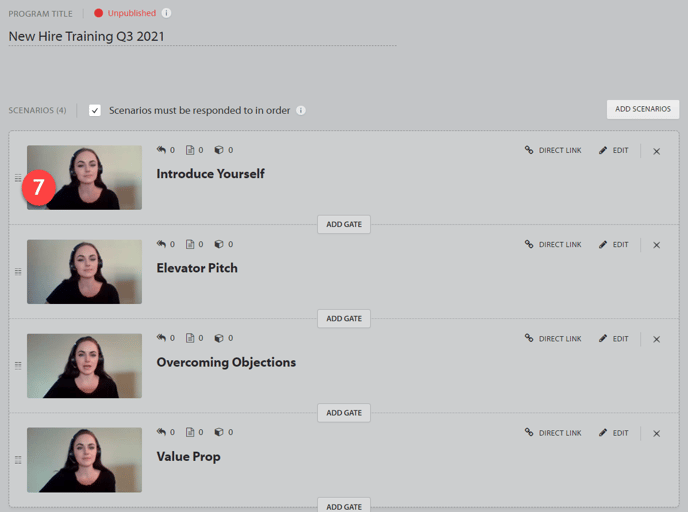
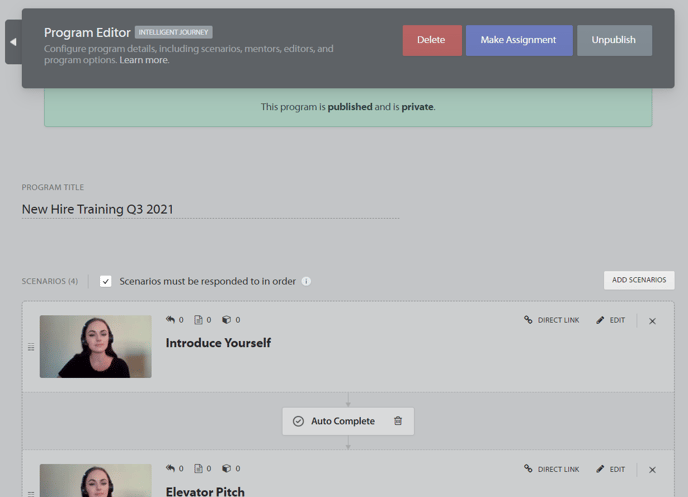
Step 8: Gates
Next, add the gates in between the Scenarios. If you do not add a gate in between a Scenario, it will default to how a standard Program works, in which once a Learner submits a response a Mentor will be responsible for providing a Final Review.
Click here to read more about Gates!
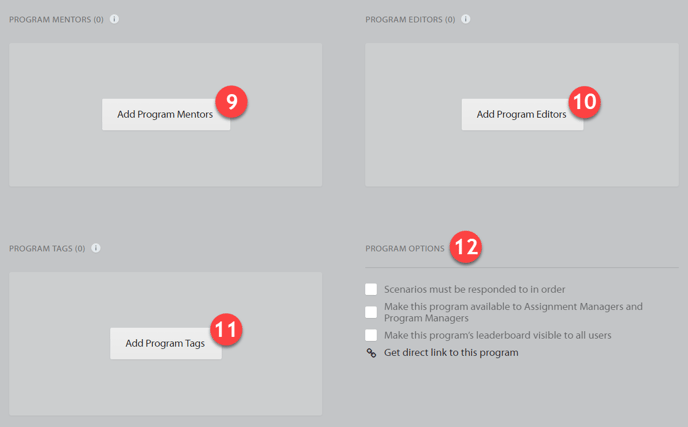
Step 9: Program Mentor
Next, you can add Program Mentors.
Step 10: Program Editors
You may also add Program Editors.
Step 11: Program Tags
You can add Program Tags.
Step 12: Program Options
Under Program Options, you can make changes to the Program settings such as requiring Scenarios to be responded to in order and making the Leaderboard public to all users in your Rehearsal instance.
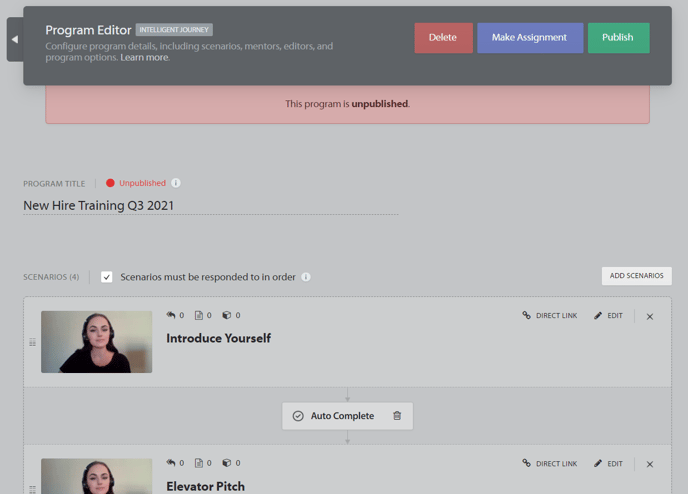
Step 13: Publish
Once you have finished creating the Program, scroll up to the top of the page and click Publish.
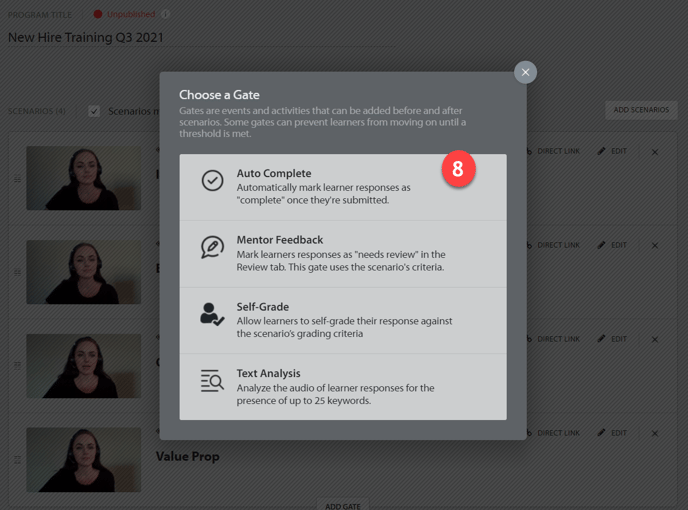
More about Gates
Gates are added at a program level. This is where you can add scenarios and place gates between them, these determine how the scenarios will be graded.
Auto Complete
This gate allows learners to pass through once they have completed the scenario within the program.
Mentor Feedback
This gate will allow learners to pass through once they have received mentor feedback.
Self Grade
This gate allows the learner to see the grading criteria and self evaluate their performance. They can pass through the gate when they have completed this action.
Text Analysis
This gate will allow our AI to analyze the transcript of the learner’s recording to look for keywords. The learner will be advised that they have passed or failed based on the keywords and allowed through the gate, or asked to try again.
There are 2 categories for these keywords:
Required Keywords - These are words the learner has to say in their response to allow passage through the gate. This is where you can make sure your learner is mentioning the company name or check for compliance in scripted performances.
Prohibited keywords - These are words that a learner should refrain from saying in their response to allow passage through the gate. You can add words like um, uh and like to prohibited keywords to improve the quality of your learners' responses.
Work in Progress
Video: Step by step