July 12, 2022
What are Channels?
Channels on the Rockstar Learning Platform allow administrators to create training groups (i.e. learning streams, learning paths, curriculum). Unlike learner groups or courses, administrators can allow learners to add modules to the Channel. These are most often used to allow Subject Matter Experts (SMEs) the opportunity to share their knowledge with their peers.
Enabling Channels
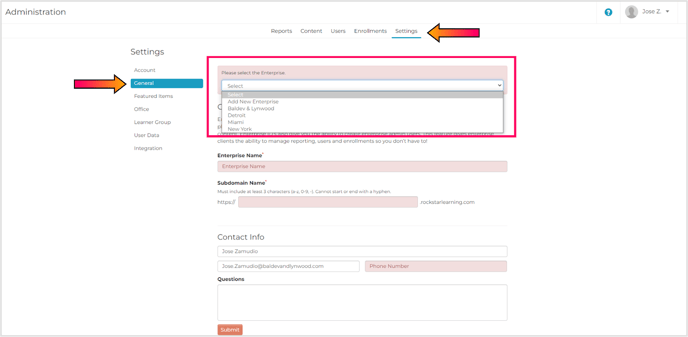
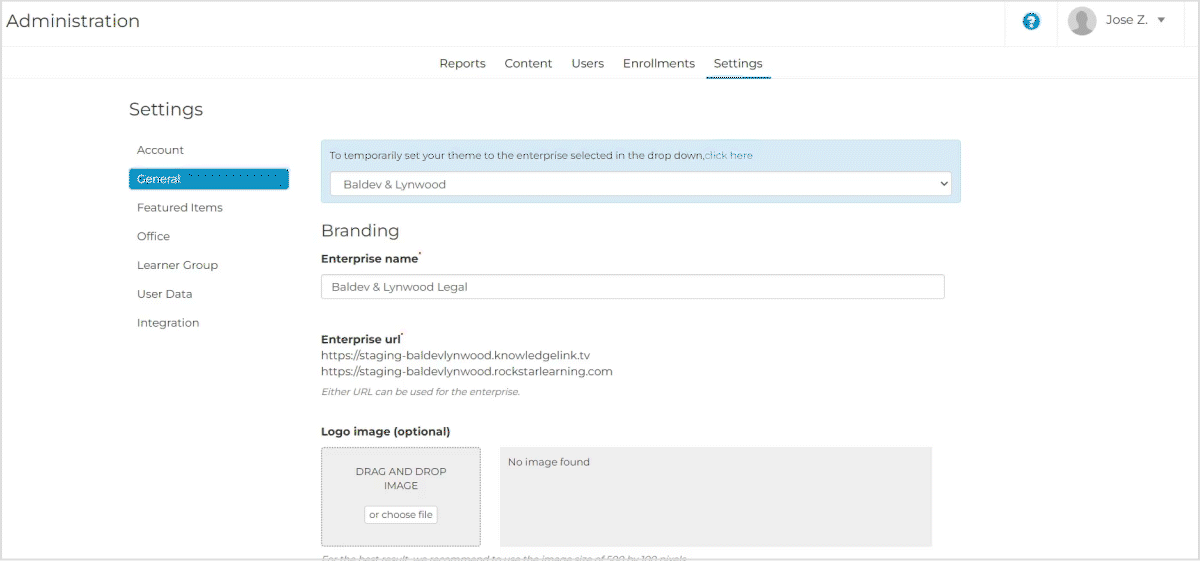
Step 1: Select an Enterprise
Navigate to the “Settings” tab of the Admin Portal and select the “General” tab. In the dropdown menu, select the Enterprise that you’d like to activate Channels for.
Related: To learn more about adding a Module to a Channel, visit XXAdd Modules and Courses to a Channel.
Step 2: Toggle Channels On/Off and Save
Scroll down to almost the bottom of the page. Changing the toggle under “Channels” to “On” will activate channels. Toggle this setting “Off” to disable Channels. Scroll down to the bottom of the page and select the red “Save” button to save your changes.
Caution: If the “Save” button is not selected, any changes made will not be saved.
Note: Toggling Channels “Off” does not delete the data for Channels that have been created; it simply removes the “Channels'' tab from the Admin and Learner Portals. If toggled back “On”, the Channels will reappear as they were before they were turned “Off”.
Creating and Editing Channels
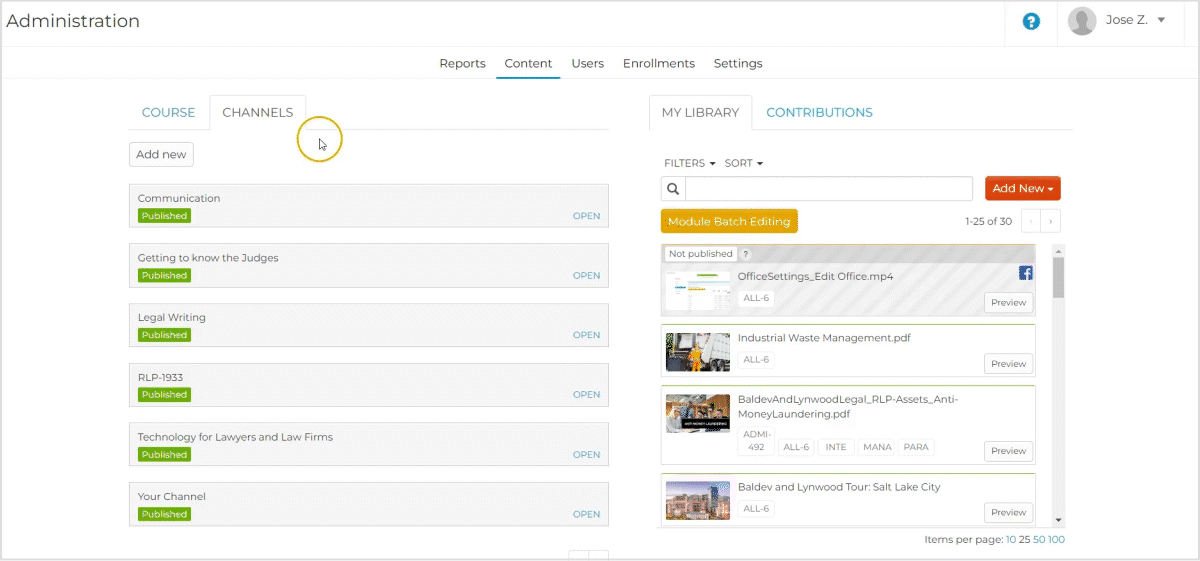
Step 1: Navigate to the “Channels” Tab
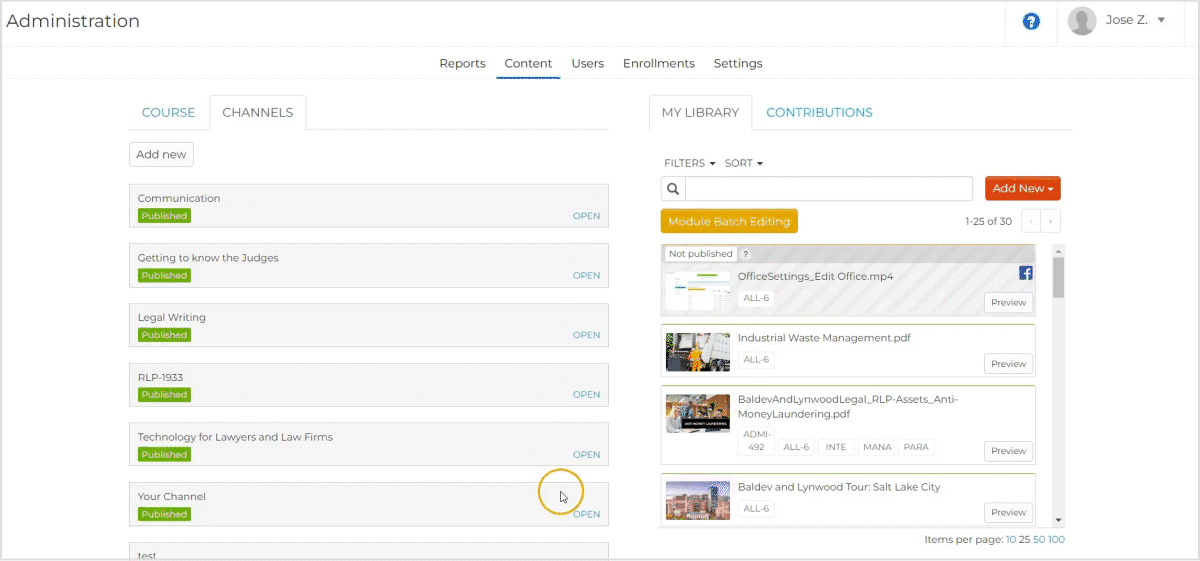
Navigate to the “Content” tab of the Admin Portal. Select the “Channels” tab.

Step 2: Add a New Channel
Adding a Channel to your platform is similar to adding a course. Select “Add new” to create a new Channel. Then select the “Edit” button on the new Channel.
Step 4: Fill in Channel Details
Fill out the details for the new Channel.
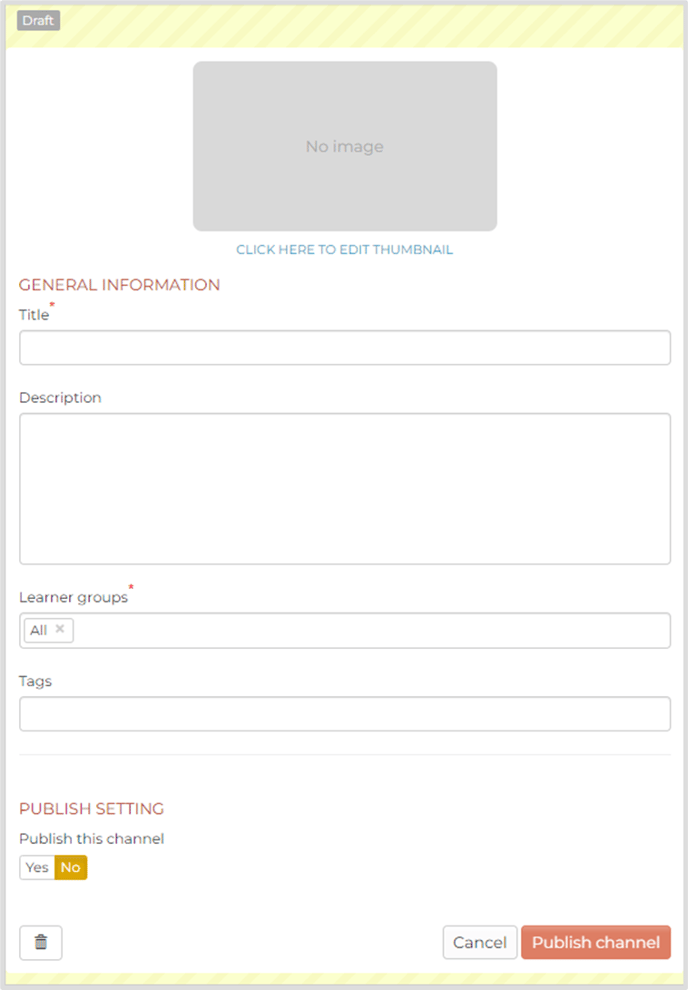
Thumbnail Image: This image will be displayed on the title card of the channel.
Note: The recommended file formats are PNG or JPEG. The recommended thumbnail dimensions are 864 pixels x 486 pixels.
Title: This title will be used to designate this Channel across the Rockstar Learning Platform.
Description: Add any information you wish to share with the learners about the Channel in this description. This could include details about what subjects can be discussed in the channel, rules on how learners can responsibility add their own content, or other similar information.
Learner Groups: The learner groups you select will determine which users can contribute to this Channel.
Caution: Learners are not enrolled in Channels; they can view and contribute to any Channel that shares one of their learner groups.
Tags: Tags can be used on the administrative side of the platform to run reports or find the module faster.
Note: Be sure to press “Enter” or “Tab” after submitting a learner group or tag so your input is saved.
Publish Setting: Changing this setting will give learners access to the Channel. If this setting is toggled to “No”, the Channel data still remains on the platform. This just means the Channel cannot be viewed until it is published again.
Step 5: Publish Channel
Select the “Publish Channel” button to publish the Channel.
Note: Unlike regular courses where you’d have to select a second “Publish” button, Channels are published as soon as the “Publish Channel” button is selected.
Note: After you publish your channel, the channel folders will automatically sort in alphabetical order. You will not be able to rearrange the channel folders.
Deleting a Channel
Select the "Open" text on your Channel folder and then select "Edit”. Then select the trashcan icon at the bottom of the edit panel. Scroll down to the bottom of the course options and click on the trash can icon. To confirm, select “yes” in the popup window.
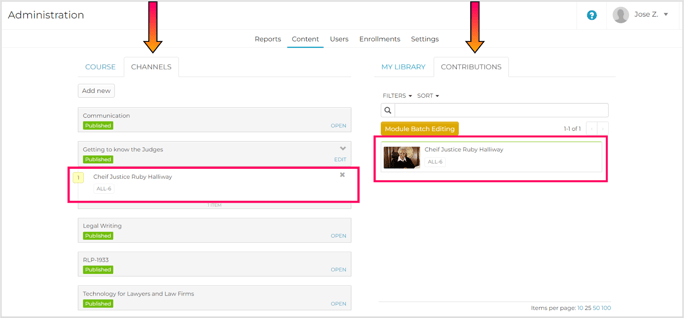
Managing Contributor Content as an Admin
When a learner adds a module to a Channel, that module will appear in the “Contributions'' tab (on the right hand side of the content tab) and in the Channel’s folder (on the left hand side of the content tab).
Administrators can edit this module like any other module, including changing learner groups, editing the title, adding presenters and tags, deleting the module, etc. However, only the module’s creator can edit the module’s content.
Channels and Completion Reporting
The contributor module will report and act like a link module in the platform. Meaning, once the module is clicked on, it will be marked as completed.